Fix Leaky Air Ducts: DIY Seals and When Homeowners Need a 25 Pa Test
If your home has rooms that never feel right, dust that keeps coming back, and energy bills that climb without explanation, your ductwork is probably leaking. The fastest first step is a visual check of accessible ducts in the attic, crawlspace, or basement for loose joints and disconnected runs. If you find damage or can’t reach the ducts, schedule a professional leakage test before spending money on repairs.
TL;DR:
- Duct leaks often cause uneven room temperatures, increased energy bills, and visible damage in accessible sections like joints and seams.
- Visual inspection and pressure tests help identify leaks, with professional testing providing precise measurements of overall leakage.
- Seal accessible leaks with mastic sealant and foil tape, then add insulation to improve efficiency; avoid cloth duct tape due to quick degradation.
- Do not attempt to seal ducts inside walls or under slabs yourself; hire professionals for hidden leaks or safety concerns such as odors or combustion byproducts.
- Post-sealing safety checks, including combustion safety and airflow verification, are essential to ensure proper operation and occupant safety.
Table of Contents
- Common signs that indicate leaky air ducts
- How to inspect and locate leaks yourself
- DIY fixes, materials, and step-by-step sealing for accessible ductwork
- When to hire a professional and what pro diagnostics and repairs include
- Sealing methods compared: manual sealing, aerosol sealant, and when each works
- Practical verification steps and safety cautions
- Practical prioritization for homeowners vs. property managers
- How Tru Comfort can help with leaky ductwork
- Sources
- FAQ
Common signs that indicate leaky air ducts
Leaky ducts show up in ways that feel like a dozen small annoyances rather than one obvious problem. Rooms far from the air handler run warmer or cooler than the rest of the house because conditioned air escapes before it reaches the vent. According to ENERGY STAR, typical homes lose a substantial portion of the air moving through their duct systems, which explains why utility bills often creep up even when the thermostat setting hasn’t changed.
Dust buildup near vents, a musty smell when the system runs, and visible kinks or gaps in flexible ductwork are also common signals. Watch for these in particular:
- Rooms that stay hot or cold no matter how you adjust the thermostat.
- Energy bills that rise without a change in weather or usage habits.
- Excess dust settling on furniture shortly after cleaning.
- Musty or burning odors when the HVAC system cycles on.
- Visible tears, kinks, or disconnected sections in flexible ducts.
Odors combined with ductwork near a garage or a combustion appliance like a furnace deserve immediate attention, since that combination can point to a safety issue rather than a comfort one.
How to inspect and locate leaks yourself
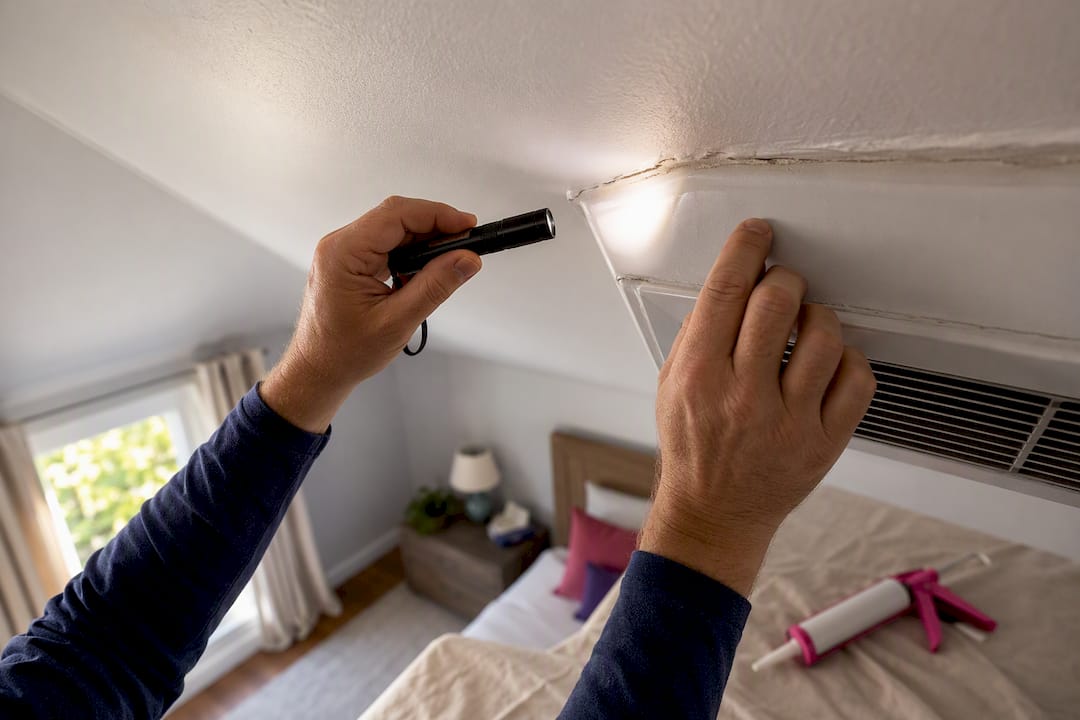
Start with the areas most likely to have accessible ductwork: the attic, crawlspace, basement, and the space right around the air handler. Leaks cluster at connections, not along straight duct runs, so focus your search on joints, boots, and transitions.
- Look for disconnected or crushed flex duct sections and obvious gaps at metal seams.
- Run your hand slowly along seams and boots while the system is running to feel for escaping air.
- Hold a lit incense stick or a smoke pencil near suspected joints and watch for the smoke to bend or scatter.
- Block registers one at a time and use a pressure pan to compare readings across rooms, which flags the leakiest branches without needing a full duct blower setup.
A pressure-pan test is useful for finding the worst offenders, but it’s a qualitative tool. It tells you where the leaks are concentrated, not how much air you’re losing in total. If you want an actual number, that requires a duct blower and manometer, which is professional equipment.
Pro Tip: Check register boots first. They’re the most common failure point because they’re often sealed with builder-grade caulk that dries out and cracks within a few years.
Stop your own inspection and call a professional if leaks appear to be inside walls, under a slab, or if you smell something that suggests a furnace or water heater is venting improperly.
DIY fixes, materials, and step-by-step sealing for accessible ductwork
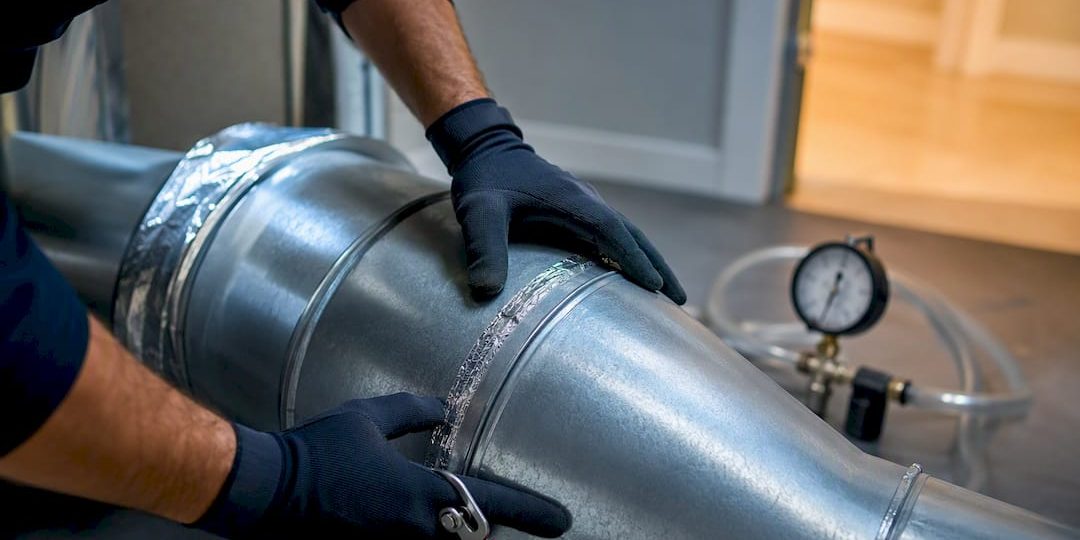
Once you’ve found accessible leaks, the materials matter as much as the effort. Skip cloth duct tape entirely: it degrades quickly under the heat cycling ducts go through and rarely holds for more than a season. The two materials worth using are mastic sealant with an embedded fiberglass mesh for gaps wider than a quarter inch, and foil tape rated to UL 181A or UL 181B for seams and smaller joints.
- Clean the surface of dust and grease before applying anything, since mastic and tape both need a bare surface to bond.
- Apply mastic generously over seams and press mesh into wider gaps before adding a second coat.
- Use UL-rated foil tape on metal duct seams and at connections where mastic would be awkward to apply.
- Reconnect any flex duct that has pulled loose from its collar, then secure it with a mechanical clamp before sealing the joint.
- Seal register boots where they meet the subfloor or drywall, a spot builders frequently leave gapped.
Ducts running through an attic, crawlspace, or unvented basement lose energy fast if they’re poorly insulated, on top of whatever they lose through leaks. Wrapping sealed ducts in insulation rated for the space brings real efficiency gains, and it’s worth doing right after sealing rather than as a separate project later.
Pro Tip: Seal first, insulate second. Insulating a leaky duct just traps the problem instead of fixing it.
Turn off the system before working near the air handler, and never seal ductwork that’s actively venting a gas appliance without checking for proper clearance first.
When to hire a professional and what pro diagnostics and repairs include
Some situations are beyond a weekend project. Call a professional when leaks are hidden inside walls or under a slab, when you find mold near ductwork, when there’s any hint of combustion byproducts escaping near a furnace or water heater, or when your DIY checks suggest leakage across the whole system rather than a few isolated joints.
Professional testing typically starts with a duct blaster test, which pressurizes the duct system to a reference pressure of 25 Pascals, or about 0.1 inches of water, to quantify exactly how much air is escaping. Some technicians pair this with a blower-door test on the whole house or with airflow measurements at individual registers to see how leaks affect delivery room by room. A duct leakage test turns these numbers into a clear before-and-after picture.
A legitimate contractor should provide:
- A written scope of work before starting any repair.
- Post-seal testing to confirm the leakage rate actually dropped.
- A combustion safety check to rule out backdrafting near gas appliances.
- A performance report you can keep for your records.
Sealing methods compared: manual sealing, aerosol sealant, and when each works
Manual sealing with mastic and tape works well anywhere you can physically reach the duct. For hidden runs inside walls, under floors, or behind finished ceilings, aerosol or injected duct sealant is often the only practical option, since it seals from the inside without demolition.
A DOE Building America case study found injected spray sealing significantly reduced leakage in tested units, with higher effectiveness than manual sealing alone. That gap matters when you’re deciding how far to go with a repair.
- Manual sealing costs roughly $300 to $500 per unit in the case study’s small low-rise examples and causes little disruption since it’s applied where ducts are already exposed.
- Injected spray sealing ran closer to $700 per unit in the same case study, reflecting the specialized equipment involved, but reaches leaks that manual methods can’t touch.
- Aerosol sealant can seal 75% or more of leaks in targeted areas and is designed to work in occupied homes without major disruption.
The strongest results usually come from combining both: mastic and tape for anything you can reach, aerosol sealant for the rest, and insulation added once every leak is closed.
Practical verification steps and safety cautions
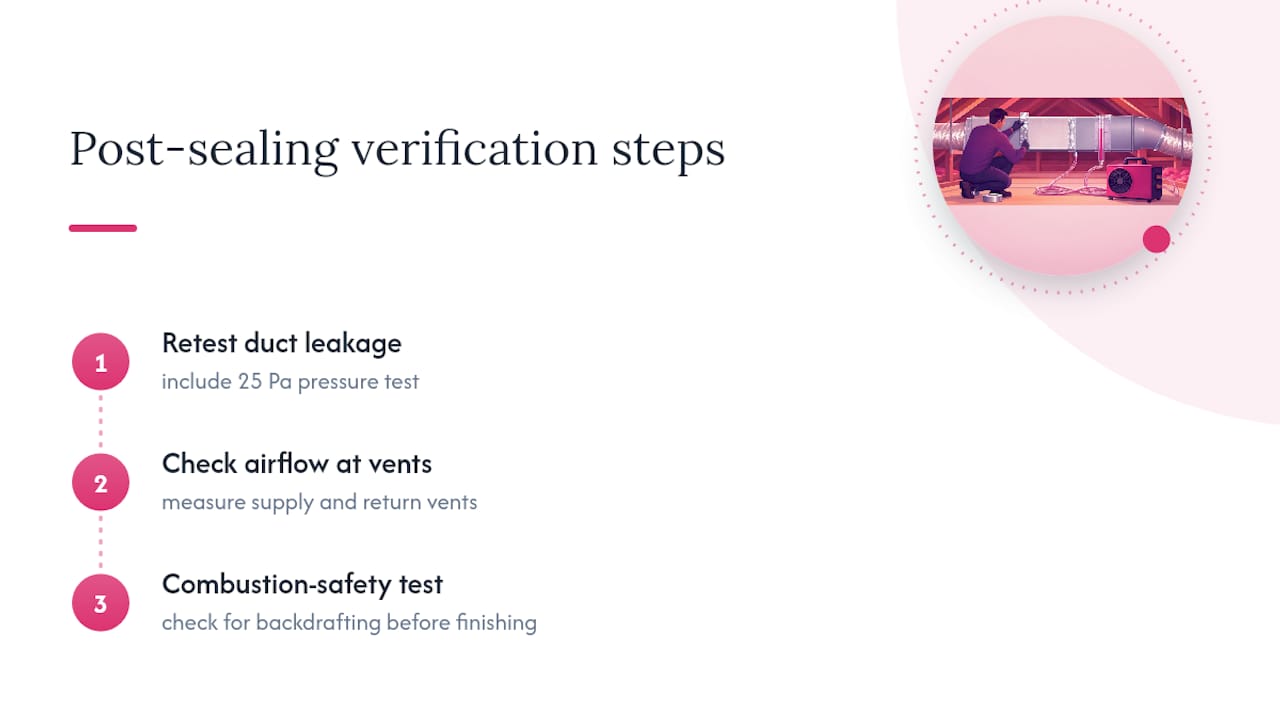
Sealing ducts changes air pressure inside your home, and that can pull combustion gases back into living space if a furnace or water heater isn’t venting properly. That’s why ENERGY STAR and DOE guidance call for a combustion safety test after any significant sealing work, checking for backdrafting rather than just closing the job. A full verification should include a retest of leakage, an airflow check at supply and return vents, and that combustion safety pass before anyone calls the job finished.
Practical prioritization for homeowners vs. property managers
Seal ducts near the air handler and anything running through unconditioned space first: that’s where the biggest comfort and efficiency gains hide. Handle accessible fixes yourself, then bring in testing and aerosol sealing if problems persist. Stop and call a professional the moment you smell combustion exhaust or suspect a leak inside a wall.
How Tru Comfort can help with leaky ductwork

Ductwork problems rarely stay isolated to one room, and chasing leaks yourself only gets you so far once they’re hidden behind walls or under a slab. Qualified technicians run non-commissioned inspections, so recommendations are based on actual duct needs rather than sales incentives.
- Air Duct Installation Services for replacing damaged or undersized runs.
- Duct sealing and leakage testing to confirm repairs actually held.
- Emergency HVAC Services for combustion safety concerns that can’t wait.
- Tru Comfort Advantage HVAC Maintenance Plans that can include duct inspections as part of routine visits.
Booking starts with an inspection, followed by a written proposal and post-repair verification testing so you know the fix worked. Reach out through Trucomfortaz to get on the schedule.
Sources
- Duct blaster technical reference (duct leakage testing)
- Benefits of duct sealing | ENERGY STAR
- DOE Building America case study: duct sealing using injected spray sealant
FAQ
How do you fix leaky ductwork?
Seal accessible seams and boots with mastic and UL 181A or UL 181B rated foil tape, and reconnect any flex duct that has come loose from its collar. For leaks hidden inside walls or under floors, aerosol sealant applied by a professional can reach what manual sealing can’t.
How much does it cost to fix leaky ductwork?
Costs vary by method and leak severity. A DOE case study reported manual sealing at roughly $300 to $500 per unit and injected spray sealing at around $700 per unit in small low-rise examples, with injection reaching a higher leakage reduction in that study.
Is sealing air ducts a good idea?
Yes. ENERGY STAR notes that a typical home loses about 20% to 30% of conditioned air through leaky ducts, so sealing them improves comfort and often pays for itself in lower energy costs over time.
How can you tell if your AC ducts are leaking?
Look for uneven cooling between rooms, rising bills without a change in usage, dust collecting near vents, and any musty smell when the system runs. A pressure-pan test can help pinpoint which branches are the worst, while a professional duct blaster test gives an exact leakage number.