
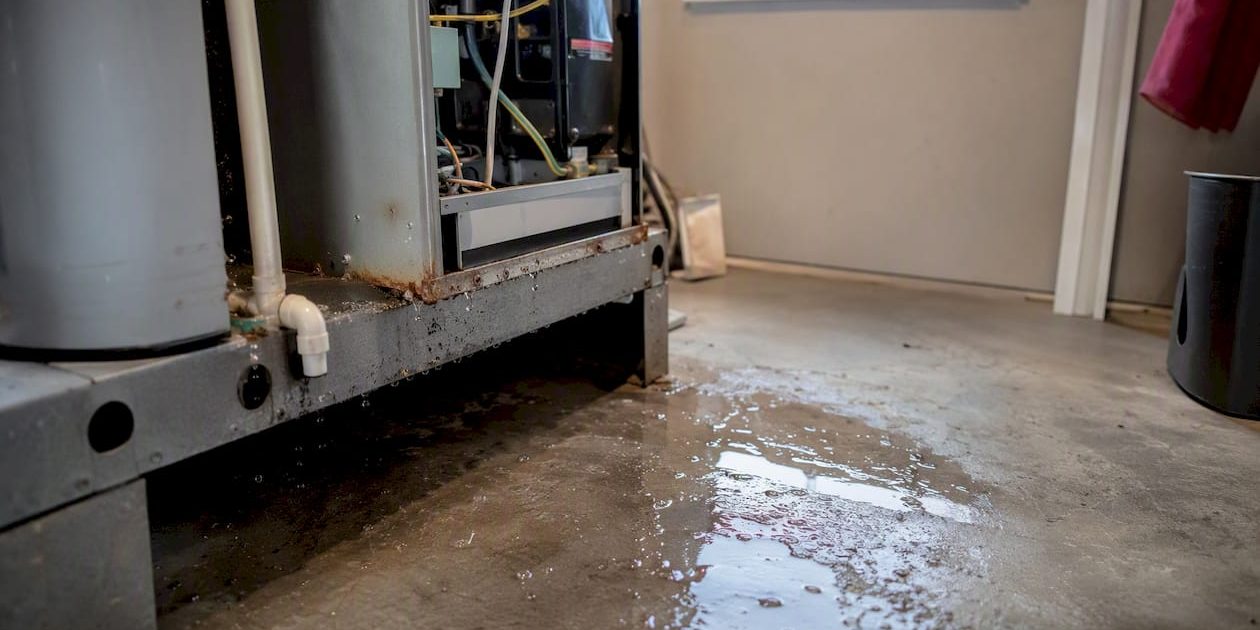
AC Leaking Water? Here’s How to Stop It Fast
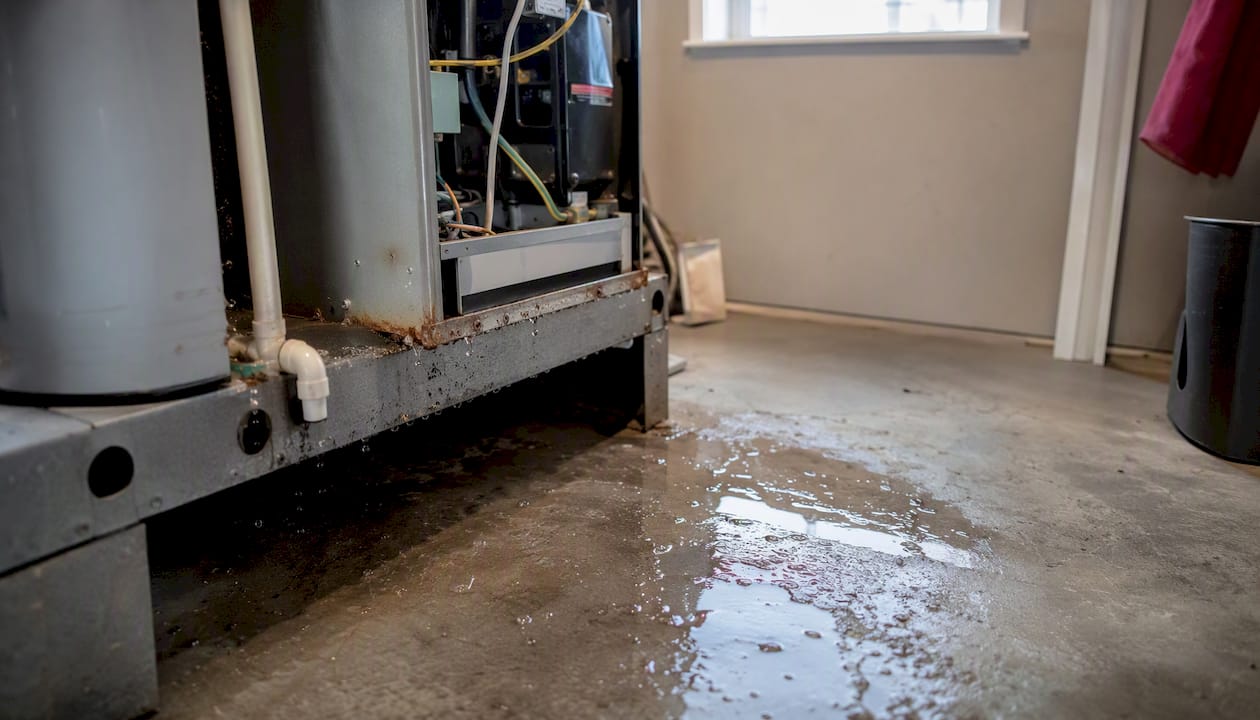
If your AC is leaking water, turn it off at the thermostat and the breaker right now. Don’t wait to see if it stops on its own. Continued operation can worsen a frozen coil, push water into walls or flooring, and create a real electrical hazard if the leak is near wiring or your air handler. Carrier confirms that even a unit still producing cool air should be shut down when leaking, because running it usually makes the underlying problem worse.
Once the power is off, here’s what to do immediately:
- Isolate power at both the thermostat and the circuit breaker for the air handler.
- Contain the water with towels, a bucket, or a wet/dry vac before it spreads to flooring or drywall.
- Move furniture and valuables away from the wet area.
- Photograph the leak — where the water is pooling, any visible ice, and the area around the drain pan. Those photos will cut your technician’s diagnostic time significantly.
- Do not touch refrigerant lines or attempt any repair if you hear hissing near the indoor unit or see heavy frost on the copper lines. That’s a refrigerant issue, and EPA regulations require a certified technician to handle it.
The three most likely culprits behind a water leak are a clogged condensate drain line, a frozen evaporator coil, or a cracked drain pan. The sections below walk through each one, how to tell them apart, and what you can safely fix yourself.
Key Takeaways
A clogged condensate drain line is the most common cause of an AC leaking water, and clearing it with a wet/dry vac or vinegar flush is the single most effective DIY fix a homeowner can attempt.
| Point | Details |
|---|---|
| Turn off power first | Shut off the thermostat and breaker immediately when you discover a leak to prevent electrical hazards and further damage. |
| Most leaks are DIY-friendly | Clogged drain lines, dirty filters, and minor pan issues can often be resolved with a wet/dry vac and basic tools. |
| Refrigerant is off-limits | EPA law requires a certified technician for any refrigerant recovery, repair, or recharge — never attempt it yourself. |
| Prevent with routine maintenance | Monthly filter checks and an annual professional tune-up prevent the majority of condensate-related leaks. |
| Trucomfortaz covers the full repair | From drain-line cleaning to refrigerant diagnostics, NATE-certified technicians in New River and Anthem handle every stage of AC leak repair. |
Table of Contents
- Why Is Your AC Leaking Water? The Most Common Causes
- How to Diagnose and Fix an AC Water Leak Yourself
- When Should You Call an HVAC Professional?
- How to Prevent AC Water Leaks Going Forward
- What HVAC Technicians Actually See in the Field
- A Local Perspective on AC Leaks from Tru Comfort
- Tru Comfort’s Services for AC Leaks and How to Book
- Sources
Why Is Your AC Leaking Water? The Most Common Causes
Carrier’s troubleshooting guidance identifies the most frequent causes as a clogged condensate drain line, a frozen evaporator coil from restricted airflow or low refrigerant, and a damaged or rusted drain pan. But there are a few others worth knowing.
Clogged condensate drain line
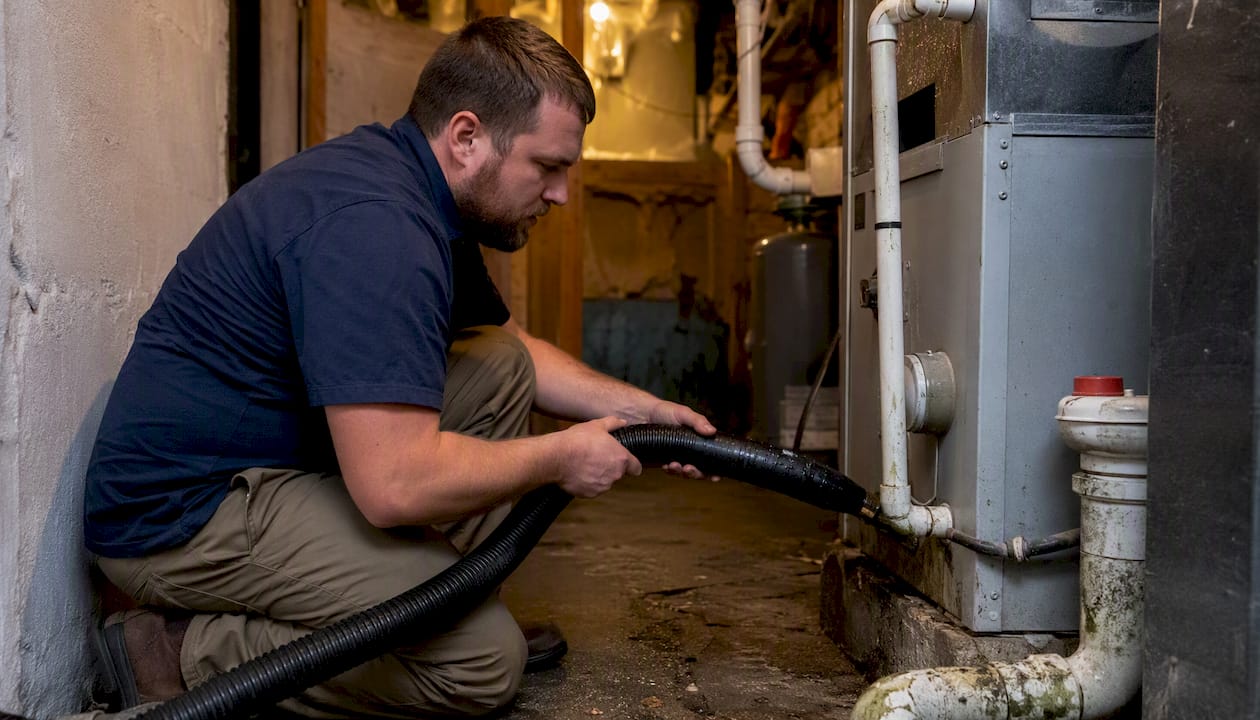
This is the single most common cause of an air conditioner leaking water inside. Your AC pulls humidity out of the air and routes that moisture through a drain line to the outside. Algae, mold, and debris build up in that line over time. When it clogs, water backs up into the drain pan and eventually overflows onto your floor. The symptom is usually a puddle directly under the indoor air handler, sometimes with a musty smell.
Frozen evaporator coil
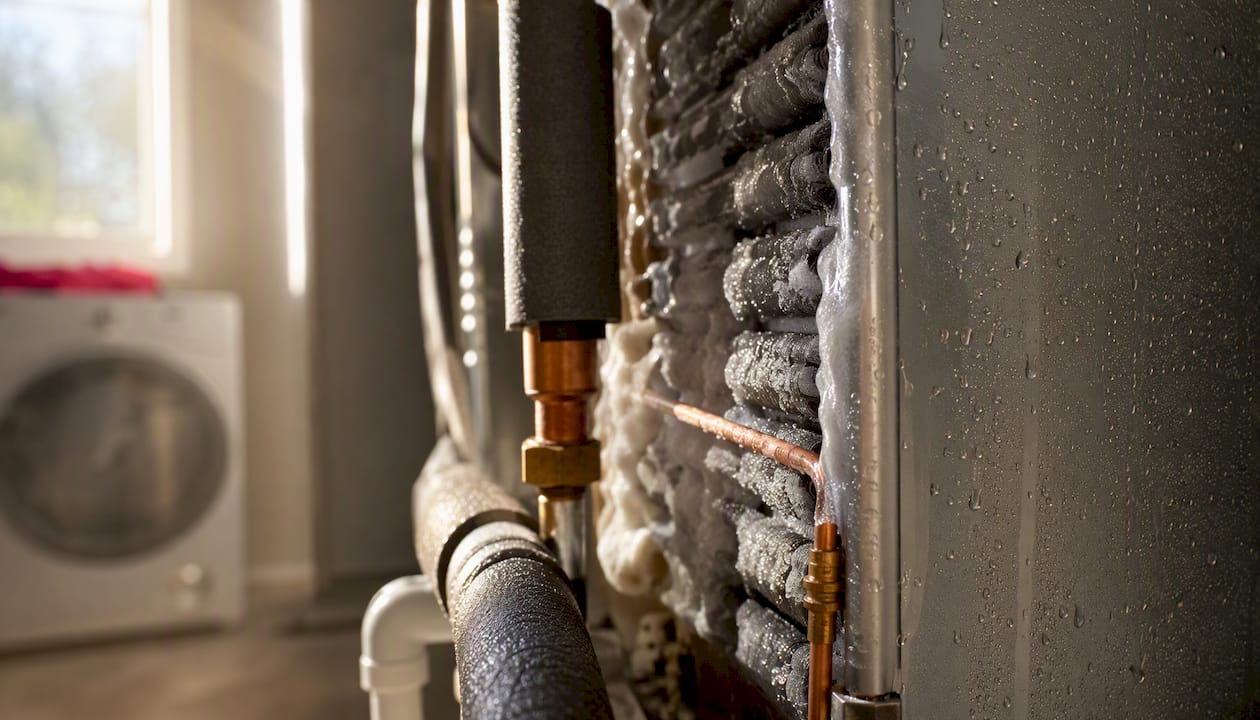
When airflow across the evaporator coil is restricted — most often by a dirty air filter — the coil gets too cold and ice forms on it. That ice eventually melts and overwhelms the drain pan. You’ll often see ice on the copper refrigerant lines near the indoor unit, or notice the system blowing warm air. A frozen coil can also result from low refrigerant, which is a different problem entirely and not a DIY fix.
Cracked or rusted drain pan
The drain pan sits under the evaporator coil and catches condensation. In older systems, it corrodes or cracks, and water drips straight through instead of draining properly. This one is easy to spot with a flashlight — look for rust stains, visible cracks, or water sitting in the pan with no obvious path to the drain.
Malfunctioning condensate pump
If your air handler is in a basement or a location where gravity drainage isn’t possible, it uses a condensate pump to push water out. When that pump fails or its float switch sticks, water backs up fast. Listen for the pump running constantly or not at all when the system is operating.
Disconnected or improperly sloped drain line
A drain line that has come loose from the fitting, or one that was never sloped correctly toward the exit point, will let water pool and back up. This is especially common after a DIY installation or a recent service where the line was disturbed.
System oversizing or high humidity
An oversized AC unit short-cycles — it cools the air quickly but doesn’t run long enough to dehumidify properly. In humid climates, that means the system produces more condensation than the drain system can handle. Bryant notes that improperly sized systems in high-humidity conditions are more likely to produce excess condensate and leak.
Quick symptom-to-cause reference
| Symptom | Most Likely Cause | DIY Check? |
|---|---|---|
| Puddle under indoor unit, musty smell | Clogged condensate drain line | Yes |
| Ice on copper lines or coil, warm air | Frozen evaporator coil | Partial (thaw + filter check) |
| Water dripping through pan, rust stains | Cracked or rusted drain pan | Inspect yes, replace maybe |
| Pump running constantly or not at all | Failed condensate pump | Inspect yes, replace maybe |
| Water pooling at connection point | Disconnected drain line | Yes |
| Hissing near indoor unit, heavy frost | Refrigerant leak | No — call a pro |
Pro Tip: Before you do anything else, pull your air filter. A filter so clogged it’s gray and stiff is the fastest diagnosis you can make — it’s almost certainly restricting airflow and may be the direct cause of the leak.
How to Diagnose and Fix an AC Water Leak Yourself
Many air conditioner water leaks are genuinely DIY-friendly. Bryant confirms that a wet/dry vac and basic tools resolve a large share of clogged-drain calls. MRCOOL recommends starting with the simple fixes before calling a technician, but draws a hard line at refrigerant issues and repeated freezing.
What you’ll need:
- Wet/dry vacuum
- Flashlight
- Flathead and Phillips screwdrivers
- Bucket and shop towels
- White distilled vinegar
- Gloves and safety glasses
Step-by-step checks in order of likelihood
-
Confirm power is off. Both thermostat and breaker. Don’t skip this.
-
Check and replace the air filter. Locate the filter slot (usually at the return air vent or inside the air handler cabinet). If it’s visibly dirty or hasn’t been changed in more than 60 days, swap it out before doing anything else. A clean filter restores airflow and may prevent the coil from refreezing.
-
Inspect the evaporator coil for ice. Open the air handler access panel and shine a flashlight at the coil. Ice means restricted airflow or low refrigerant. If you see ice, leave the unit off and let it thaw completely — this takes 1–3 hours. Place towels around the base to catch melt water. After thawing, replace the filter and restart. If it freezes again within a day or two, stop and call a technician.
-
Inspect the drain pan. With the unit off, use a flashlight to look at the drain pan under the coil. Standing water with no visible drain path, rust staining, or visible cracks all point to a pan problem. A cracked pan can sometimes be patched temporarily with waterproof epoxy putty, but a corroded pan in an older system usually needs replacement.
-
Check the condensate drain line outlet. Go outside and find where the drain line exits the house — usually a white PVC pipe near the outdoor unit or through an exterior wall. If nothing is dripping out during operation (or if the area around it is bone dry despite the unit running), the line is likely clogged.
-
Clear the condensate drain line. This is the most common fix. At the indoor unit, locate the drain line access port (a capped T-fitting on the PVC pipe near the air handler). Remove the cap, place the wet/dry vac hose over the end of the drain line at the outdoor exit point, and run the vac for 1–2 minutes. You’ll often pull out a plug of algae or debris. Alternatively, pour a cup of white distilled vinegar into the access port and let it sit for 30 minutes before flushing with water. The ACCA’s condensate guide recommends this kind of routine flushing as the most effective way to prevent clogs from becoming emergencies. For local context on what clogs look like in this region, the condensate drain clog warning signs guide from Trucomfortaz covers Anthem-area specifics.
-
Check the condensate pump. If your system has one, locate it near the air handler. Most pumps have a small reservoir and a float switch. Pour a small amount of water into the reservoir — the pump should kick on within a few seconds. If it doesn’t, the pump or float switch may need replacement.
-
Verify the drain line slope and connections. Trace the drain line from the air handler to its exit point. It should slope consistently downward. Any upward sections trap water. Check that all fittings are hand-tight and seated properly.
Pro Tip: After each fix, restart the system and watch for 15–20 minutes. Check the drain pan and the outdoor drain exit. If water is flowing out the exit and the pan stays dry, you’ve solved it. If the pan fills again or ice returns, that’s your signal to stop and book a technician.
Stop here if you smell burning, hear hissing near the refrigerant lines, or see ice that returns after a full thaw. Those signs point to refrigerant or electrical problems that require a licensed professional.
When Should You Call an HVAC Professional?
Some situations move past DIY territory fast. AZ Big Media’s emergency HVAC guide identifies active indoor pooling, leaks near electrical components, burning smells, and total system failure during extreme heat as situations that cross into emergency territory.
Call a technician immediately if you notice any of these:
- Water is coming through a ceiling, wall, or floor — structural water damage escalates quickly and can lead to mold within 24–48 hours.
- The leak is near your electrical panel, wiring, or any outlet.
- You smell burning or see smoke anywhere near the unit.
- You hear hissing or bubbling near the refrigerant lines — that’s a refrigerant leak, and EPA Section 608 rules require a certified technician to recover, repair, and recharge refrigerant. This is not optional.
- The coil refreezes within a day or two of thawing, even after a fresh filter — persistent freezing almost always means low refrigerant.
- The system has completely stopped cooling during a heat event, especially if elderly or young children are in the home.
For a broader list of warning signs that indicate your system needs professional attention, the ten signs your AC may need maintenance resource from Trucomfortaz is worth a quick read before you call.
What to expect on cost and timing
Repair costs vary widely depending on the cause, with simpler fixes generally costing less than more extensive repairs. Refrigerant work involves diagnostic time, leak detection, and the cost of the refrigerant itself, making it the most expensive category by a significant margin. When you call, have your photos ready, note when the leak started, whether it’s constant or intermittent, and whether the unit is still cooling. That information cuts diagnostic time at the visit.
For refrigerant and complex electrical diagnostics, look for a NATE-certified technician — NATE certification is the industry’s primary competency standard for HVAC service professionals.
How to Prevent AC Water Leaks Going Forward
Most condensate-related service calls are preventable. ACCA’s condensate guidance is direct: routine filter changes and drain-line cleaning prevent the majority of emergency calls. The maintenance schedule below covers everything a homeowner can realistically manage.
Monthly:
- Check the air filter. Replace it if it’s visibly dirty, even if it hasn’t hit the 30-day mark. In dusty climates or homes with pets, monthly replacement is often the right cadence.
- Glance at the drain pan during the cooling season. Standing water between service visits is a warning sign.
Every 1–3 months:
- Replace the air filter on a fixed schedule if you don’t check monthly. A 1-inch filter in a standard system typically needs replacement every 30–60 days; thicker media filters can go longer.
Every 6 months:
- Pour a cup of white distilled vinegar down the condensate drain access port to suppress algae growth before it becomes a clog.
- Check that the outdoor condensate exit is clear of debris, dirt dauber nests, or vegetation.
Annually (spring, before cooling season):
- Schedule a professional tune-up. A technician will clean the coil, check refrigerant levels, inspect the drain pan, test the condensate pump, and verify the drain line slope — all in one visit. Trucomfortaz’s maintenance cadence guide covers the recommended schedule for New River and Anthem specifically.
- Confirm the unit is level. A unit that has settled out of level over time will drain unevenly and can cause the pan to overflow on one side.
Pro Tip: When you call for your annual tune-up, tell the technician the last time you had a drain-line clog, how often you change your filter, and whether you’ve noticed any musty smells from the vents. That context helps them prioritize what to inspect and often surfaces a problem before it becomes a leak.
One longer-term factor worth knowing: if your system is oversized for your home, it will short-cycle and produce more condensation than a properly sized unit. That’s not something a tune-up fixes — it’s a sizing conversation for when the system is due for replacement.
What HVAC Technicians Actually See in the Field
The patterns technicians encounter on leak calls are remarkably consistent. Neglected filters and clogged drain lines account for the majority of emergency service calls, according to NARS HVAC School’s technician troubleshooting guide. Corroded drain pans are the next most common finding, particularly in systems that are 10 or more years old.
Common homeowner mistakes that make leaks worse:
- Running the unit after discovering a leak, hoping it will resolve itself. It won’t, and continued operation risks worsening a frozen coil or pushing water further into the structure.
- Pouring bleach directly into the condensate drain line. Bleach can degrade PVC fittings and leave residue that attracts more buildup. Vinegar is the correct choice.
- Attempting to add refrigerant from a consumer “recharge” kit. These kits are not designed for split systems and can mask a leak while introducing incompatible refrigerant. Refrigerant work requires EPA Section 608 certification.
- Patching a heavily corroded drain pan with tape or caulk and calling it fixed. A pan with widespread rust will fail again quickly — replacement is the right call.
For the technician visit itself: photograph the leak location, the drain pan, and any ice you observed before thawing. Note whether the leak is constant or only happens during peak cooling hours. Intermittent leaks that worsen in the afternoon often point to high-humidity conditions overwhelming a partially clogged drain — that detail alone can cut diagnostic time in half.
A Local Perspective on AC Leaks from Tru Comfort
In New River and the surrounding areas, the combination of intense summer heat and periodic monsoon humidity creates specific conditions that accelerate condensate issues. Systems run hard for months at a stretch, filters clog faster than the manufacturer’s suggested schedule, and drain lines that might go a full season without trouble in a milder climate can clog within weeks during peak humidity.
At Trucomfortaz, the first priority on any leak call is stopping active water damage — that means getting the unit off, containing the water, and assessing whether the structure has been affected. From there, the diagnostic process follows the same order outlined above: drain line, coil condition, pan integrity, refrigerant levels. Our NATE-certified technicians don’t work on commission, so the recommendation you get is based on what the system actually needs, not what generates the largest invoice.
Emergency service is available for situations that can’t wait — active leaks near electrical components, water through ceilings, or total system failure during a heat event. For everything else, a scheduled diagnostic visit with photos and a symptom timeline gets you to a resolution faster.
Tru Comfort’s Services for AC Leaks and How to Book
When a DIY check doesn’t resolve the leak, or when the situation calls for a professional from the start, Trucomfortaz covers the full range of condensate and refrigerant repairs for homeowners in New River, Anthem, and surrounding areas.

The HVAC services Trucomfortaz provides for water leak issues include condensate drain line cleaning and clearing, drain pan inspection and replacement, condensate pump repair and replacement, refrigerant leak detection and repair by EPA-certified technicians, full system diagnostics, and annual maintenance plans that include all of the above on a scheduled basis. The Tru Comfort Advantage maintenance plan is the most cost-effective way to prevent leaks from becoming emergencies — it covers pre-season inspections, drain-line cleaning, and priority scheduling when something does go wrong.
To book, call or use the online form at trucomfortaz.com. Have your photos ready, note when the leak started and whether it’s constant or intermittent, and let the team know if you’ve already attempted any DIY steps. That information gets your technician to the right diagnosis faster.
Sources
The following sources informed this guide and are worth bookmarking for deeper reference:
- Why Is My AC Leaking Water? | Troubleshooting & Repair
- Why Is My AC Leaking Water? DIY Fixes & When to Call a Pro | MRCOOL®
- The ultimate guide to HVAC condensate
- When is an AC problem considered an emergency? – AZ Big Media