Homeowners: Don’t Approve AC Work Without Manual J, AHRI, and Test Out
A proper AC installation follows a fixed sequence: load calculation and permits; then site and duct preparation; equipment removal; indoor and outdoor component installation; refrigerant charging and commissioning; and finally written documentation and handoff. Success means a documented Manual J/Manual S calculation, sealed ducts, a verified refrigerant charge backed by an AHRI certificate, and commissioning records in your hands. Ask any installer for proof of EPA Section 608 and NATE certification before they touch your equipment.
TL;DR:
- Proper AC installation requires a detailed manual load calculation to prevent system oversizing or undersizing, which can cause comfort issues and reduce equipment lifespan.
- Ductwork must be correctly sized, sealed, and tested for leaks to ensure optimal airflow and efficiency; improper duct conditions are a major source of system underperformance.
- Certified technicians handling refrigerant must have EPA Section 608 certification, and the final system should be verified through precise charging and airflow measurements documented in a commissioning report.
- Installation timelines typically range from one day for straightforward replacements to multiple days if ductwork or electrical upgrades are needed, with costs varying based on project scope.
- Homeowners should verify that contractors provide a Manual J, AHRI certificate, and commissioning documentation before work begins to ensure quality and protect warranty coverage.
Table of Contents
- What Happens During the AC Installation Process?
- Getting Your Home and Site Ready for Installation
- Removing Old Equipment and Handling Refrigerant Safely
- How Is the New AC System Physically Installed?
- Charging, Airflow, and Final Commissioning Tests
- How Long Does Installation Take and What Does It Cost?
- Your Pre-Install and Post-Install Checklist
- Why Certified Installers and Documentation Protect Your Investment
- What I’ve Learned Watching Installs Go Wrong
- Get a Documented AC Installation Quote
- Where to Verify These Standards Yourself
- Sources
- FAQ
What Happens During the AC Installation Process?
Every quality install starts on paper, not in your backyard. Before a technician touches your old condenser, a contractor should run a load calculation that tells them exactly how much cooling capacity your house needs. Skip this step and you get one of two outcomes: an oversized unit that short-cycles and leaves your home damp, or an undersized one that runs constantly and never quite catches up on a 105 degree Arizona afternoon.
ACCA Manual J is the industry-standard method for calculating that load. It accounts for your square footage, insulation, window orientation, ceiling height, and local climate data. Contractors who eyeball equipment size using “a ton per 500 square feet” or similarly lazy rules of thumb routinely oversize systems, according to Building Science Education. Oversizing causes short-cycling, poor humidity control, and premature compressor wear.
Once the load number is set, ACCA Manual S guides equipment selection, matching the actual capacity of a condenser and coil to that calculated load rather than to whatever unit happens to be sitting in the truck. ENERGY STAR is blunt about this: rule-of-thumb sizing without Manual J and Manual S is a leading cause of comfort complaints after a new system goes in.
There’s a third manual that gets skipped far more often than it should. ACCA Manual D governs duct design, including trunk and branch sizing, static pressure, and airflow distribution. If your ductwork was sized for a different system or never sized correctly at all, a brand-new high-efficiency AC will still underperform. Leaky or undersized ducts account for a meaningful share of system inefficiency, and ENERGY STAR’s guidance on duct sealing treats duct condition as a core part of any HVAC upgrade, not an afterthought.
Permitting happens in parallel with this planning phase. Most jurisdictions require a mechanical permit for AC replacement or new installation, and in many cases an electrical permit if the disconnect or circuit changes. A licensed contractor typically pulls these permits on your behalf, but confirm it in writing. An installer who skips permitting to save time or cost is cutting a corner that could cost you at resale.
This is also the point where a home energy assessment pays off. Building America’s guidance recommends a “test in, do the work, test out” approach: measure performance before touching anything, make the upgrades, then confirm the improvement afterward. If your ducts run through an unconditioned attic or your insulation is thin, bundling that work into the AC project usually costs less than doing it later.
Before signing any bid, request these items in writing:
- A printed Manual J load calculation specific to your home, not a generic estimate.
- The Manual S equipment match sheet showing the proposed unit’s capacity against your calculated load.
- A written duct assessment noting whether sealing, resizing, or customized duct work is part of the scope.
- Confirmation of who pulls permits and when inspections are scheduled.
- Proof of technician certifications, including EPA Section 608 and NATE.
Pro Tip: If a contractor can’t produce a Manual J printout with your address and square footage on it, that’s a signal to keep looking. A verbal “it’s about a 3 ton system” is not a load calculation.
Getting Your Home and Site Ready for Installation
Where the outdoor condenser sits and how it’s clear of surrounding obstacles has more impact on performance than most homeowners realize. A unit crammed against a fence or under a low patio roof struggles to reject heat, which drags down efficiency and shortens compressor life.
- Confirm pad placement and clearances. Manufacturers generally call for at least 24 inches of open space around the condenser on all sides and roughly 5 feet of clearance above it, though exact figures vary by model. A dedicated guide to condenser clearance can help you check your specific setup before install day.
- Decide on indoor equipment placement. The air handler or evaporator coil usually goes in an attic, a closet, a garage, or a basement in colder climates. Attic installs keep the unit out of living space but make future service harder; closet installs are easier to access but need proper clearance and a condensate drain path. In parts of Arizona, rooftop package units are common for a specific set of practical reasons tied to slab construction and space constraints.
- Assess ductwork readiness. Before any new equipment goes in, ducts should be pressure tested for leaks and checked for correct sizing against the Manual D design. Sealing existing ducts is often more cost-effective than replacing them outright, though severely undersized or crushed ductwork may need a full duct installation instead of a patch job.
- Clear the work areas before the crew arrives. Move vehicles away from the condenser pad, secure pets away from open doors, and clear a path to the attic hatch or utility closet where the indoor unit lives.
- Confirm utility access. Installers need clear access to your electrical panel and disconnect box, and in some cases your water heater closet if the air handler shares that space.
Homeowners who skip step 3 are often the ones calling six months later wondering why their brand-new system never quite cools the back bedroom. New equipment can’t fix ducts that were never sized for the airflow it’s designed to move.
Removing Old Equipment and Handling Refrigerant Safely
Replacing an existing system starts with taking the old one out, and that process is more regulated than most homeowners expect. Refrigerant can’t simply be vented into the air. Federal law requires it to be recovered into a certified container before any line is disconnected.
The teardown typically follows this order:
- The outdoor condenser is powered down and disconnected electrically first.
- Refrigerant is recovered from the system using EPA-approved recovery equipment.
- The line set connecting the condenser to the indoor coil is disconnected and inspected.
- The indoor coil and air handler (or furnace, if shared) are removed and checked for water damage or corrosion.
- The old condenser, coil, and any scrap line set are prepared for disposal or recycling.
Only a technician holding EPA Section 608 certification may legally handle refrigerant during any of these steps, whether that’s recovering it, connecting hoses, or charging new refrigerant later in the process. This isn’t a suggestion; it’s a federal certification requirement tied directly to the technician doing the work, and it applies to anyone who could disturb the refrigerant circuit during service, repair, or installation.
Reusing the existing line set sounds like a cost saver, but it carries real risk. Old lines can harbor moisture, acid, or metal shavings from a failed compressor, and running new refrigerant through contaminated lines can damage a brand-new system within its first year. Most contractors recommend new lines when the diameter doesn’t match the new equipment’s specs, or when the old system failed due to a compressor burnout that could have left contaminants behind.
Old refrigerant, coils, and condensers should be recycled through a certified HVAC recycling program rather than sent to a standard landfill. Refrigerants like R410A have environmental impact if released, and reputable contractors document proper recovery and disposal as part of the paper trail you should receive at project close.
Quality installation isn’t just about compliance. It’s about performance you’ll feel in your utility bill: a certified, well-executed installation can improve system efficiency by 18% to 36% compared to a poorly installed one, according to Building Science Education’s estimate for ACs and heat pumps.
How Is the New AC System Physically Installed?
Once the old equipment is out and the site is prepped, the new components go in. This is the part homeowners actually watch happen, and it’s worth knowing what good work looks like versus a rushed job.
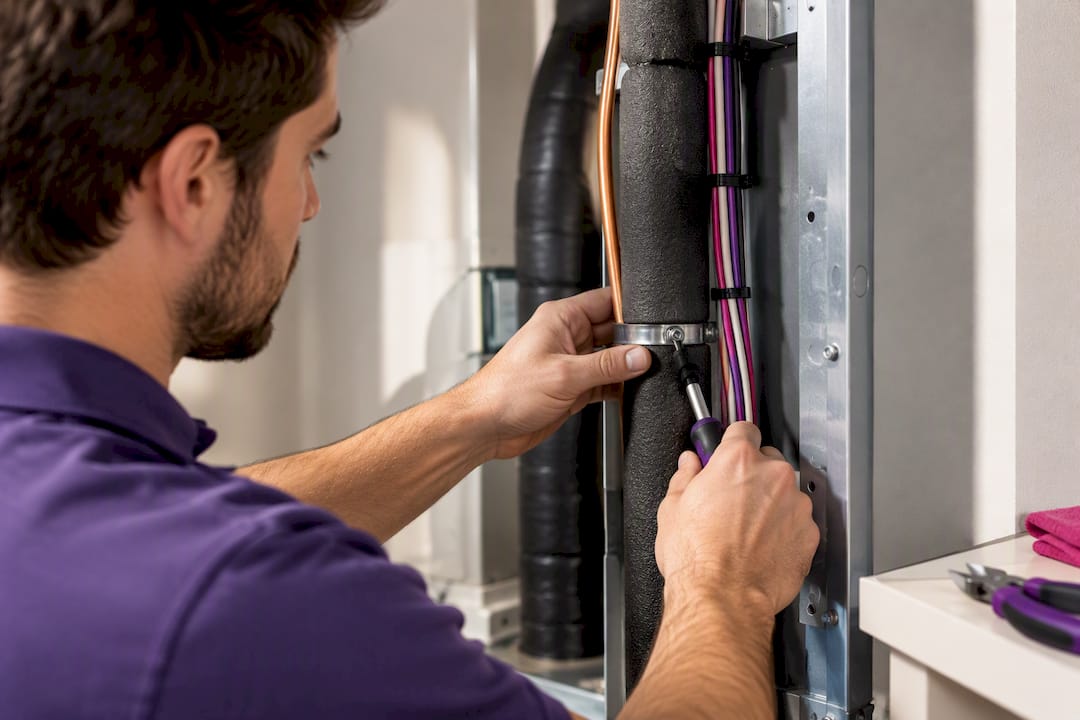
The outdoor condenser gets set on a level pad, secured, and connected to the refrigerant line set. Technicians route and insulate those lines carefully, since gaps in insulation cause condensation, energy loss, and eventually ice buildup on the suction line. Indoors, the coil mounts onto the air handler or furnace plenum, and the drain line gets pitched correctly so condensate flows out rather than pooling.
Electrical work follows a specific sequence:
- A dedicated disconnect box goes in near the outdoor unit, within sight of it, per code.
- The breaker in your electrical panel gets sized to match the new equipment’s amperage draw, which often differs from your old unit’s requirements.
- Conduit and wiring are run between the disconnect, the panel, and the condenser, with proper grounding at every connection.
- If your electrical panel is older or near capacity, a licensed electrician may need to upgrade the panel or add a subpanel before the HVAC crew can finish.
Thermostat wiring connects the indoor unit to whatever control system you’re using, whether that’s a basic thermostat or a smart model with zoning dampers for multi-zone comfort. Setting up a smart thermostat at this stage means the installer can commission it alongside the rest of the system rather than leaving you to figure out scheduling and sensor placement on your own.
You don’t need an HVAC license to spot decent workmanship. Neat, secured wiring inside the disconnect box, continuous foam insulation on the full length of the refrigerant line (not patched with tape halfway through), and a clearly labeled disconnect are all visual signs the crew cares about the details. Sloppy wire bundles hanging loose, exposed copper line without insulation, or a disconnect box with no label are the opposite signal.
Charging, Airflow, and Final Commissioning Tests
This is the step most homeowners never see and most corner-cutting contractors skip entirely, which is exactly why it matters most. A system can look flawless from the outside and still perform 30% below its rated capacity if it was never properly charged and balanced.
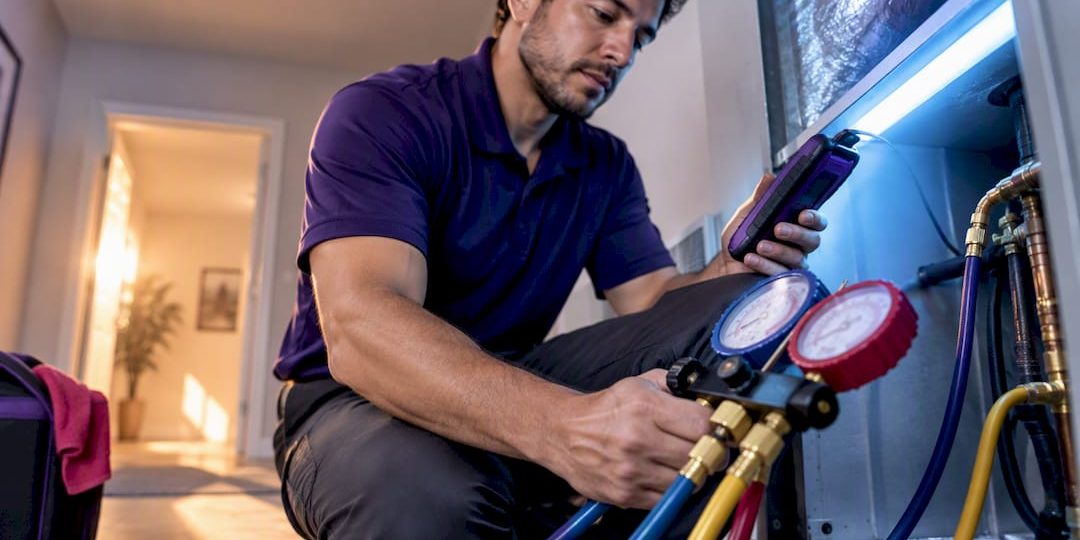
Refrigerant charge gets verified one of two ways: weighing in the exact factory-specified charge amount, or measuring superheat and subcooling values at the condenser to confirm the charge matches the line length and outdoor conditions. Either method requires test equipment and a technician who actually takes the readings rather than “topping off until it feels cold.” An incorrect charge, even slightly off in either direction, degrades efficiency and shortens compressor life.
Airflow gets checked separately from refrigerant charge. Technicians measure CFM (cubic feet per minute) at the air handler and static pressure across the duct system, then balance registers room by room so no single space starves for airflow while another gets flooded. This step is where leaky or undersized ducts show up as a real, measurable problem rather than a guess.
| Commissioning check | What it verifies | Why it matters |
|---|---|---|
| Refrigerant charge (weigh-in or superheat/subcooling) | Correct refrigerant amount for the line length and conditions | Under or overcharging cuts efficiency and shortens compressor life |
| Airflow (CFM) measurement | Air handler is moving the design airflow | Low airflow reduces cooling capacity and dehumidification |
| Static pressure test | Ductwork resistance is within equipment specs | High static pressure strains the blower motor and cuts efficiency |
| Register balancing | Even conditioned air distribution room to room | Prevents hot or cold spots in specific rooms |
| AHRI certificate match | Condenser and coil are a certified matched pair | An unmatched pair can void efficiency ratings and manufacturer warranty |
The AHRI certificate confirms that the specific condenser and coil combination installed in your home is a factory-tested, matched pair rated for the efficiency number on the box. Mixing an aftermarket coil with a different brand’s condenser, even if both are quality equipment, can mean you’re not actually getting the SEER rating you paid for. ANSI/ACCA verification standards call for this documentation, plus a balancing report and duct test results, as part of a complete quality installation record.
A proper test-out sheet should include the measured refrigerant charge method and result, CFM readings, static pressure, and the temperature split between return and supply air. If a contractor hands you a final invoice with no test values on it, that’s the clearest red flag in the entire process. It usually means the crew installed the equipment and left, without confirming it actually works the way it’s supposed to.
Pro Tip: Ask to see the actual gauge readings or test-out sheet before the crew packs up, not after you’ve paid the final invoice. A contractor confident in their work will show you the numbers without hesitation.
How Long Does Installation Take and What Does It Cost?
A straightforward AC replacement, where the ductwork is already correctly sized and no electrical upgrades are needed, usually takes one full day. Add ductwork modifications, an electrical panel upgrade, or a switch to a different system type, and the timeline can stretch across two or more days.
The general schedule looks like this: an in-home assessment and Manual J calculation happen first, often a separate visit from the install itself. Permitting follows, which can take anywhere from same-day to a couple of weeks depending on your local jurisdiction. Site and duct prep happens either the day before or the morning of installation. The mechanical and electrical work itself takes the bulk of install day, followed by charging, commissioning, and a final walkthrough where the contractor hands you documentation.
Cost varies widely based on a handful of specific factors:
- Ductwork condition. Sealing existing ducts costs far less than replacing sections, and replacement cost scales with linear footage and duct type.
- Line set replacement. New refrigerant lines add labor and material cost but reduce contamination risk versus reusing old lines.
- Permit fees. These vary by city and county and are usually a small fraction of total project cost.
- Efficiency level. Higher SEER2 equipment costs more upfront but usually lowers monthly utility bills.
- Refrigerant type. Newer refrigerants required under current EPA phase-down rules can affect equipment pricing.
- Electrical or structural upgrades. A panel upgrade, new disconnect, or structural support for a heavier unit adds cost that a straightforward swap wouldn’t need.
Because these variables shift the total so much, the only reliable way to compare quotes is side by side against a standardized checklist: does the bid include a Manual J printout, an AHRI-matched system, a written duct sealing or testing plan, and commissioning documentation. A lower number that skips all four isn’t actually a lower price. It’s a different, incomplete project.
Your Pre-Install and Post-Install Checklist
Getting ready for installation day and knowing what to check afterward protects the investment you’re about to make. Work through these in order.
Before the crew arrives:
- Clear a path to the outdoor condenser pad and the indoor unit’s location, whether that’s an attic hatch, closet, or garage.
- Confirm your permit has been filed and note the scheduled inspection date, if applicable.
- Get direct contact information for the lead technician or project manager in case questions come up mid-install.
- Secure pets in a separate area and move vehicles clear of the work zone.
While the crew is on-site:
- Ask to see the Manual J printout for your home before work begins, if you haven’t already received it.
- Request to observe or get results from the refrigerant weigh-in or superheat/subcooling test.
- Confirm the AHRI certificate number for the installed condenser and coil pair.
At handoff and afterward:
- Collect the equipment manuals, warranty registration paperwork, and the commissioning test-out sheet.
- Confirm your correct filter size and get it in writing so replacements are easy to order.
- Ask the technician to walk you through thermostat programming before they leave.
- Schedule your first maintenance visit and register your equipment warranty within the manufacturer’s required window, which is often 60 to 90 days from install.
| Checklist stage | Key action | Why it matters |
|---|---|---|
| Pre-install | Confirm permit status | Avoids delays or code violations later |
| Day-of | Request refrigerant test results | Confirms correct charge before crew leaves |
| Handoff | Collect commissioning report | Proof of proper installation for warranty claims |
| Ongoing | Book seasonal maintenance | Preserves efficiency and manufacturer warranty terms |
Skipping the maintenance step is the most common way homeowners lose warranty protection. Most manufacturers require documented annual service to keep coverage valid, and a regular maintenance schedule is the easiest way to keep that documentation on file.
Why Certified Installers and Documentation Protect Your Investment
The paperwork you collect during installation isn’t bureaucratic overhead. It’s the only proof you have that the job was done correctly, and it’s what a warranty claim or resale inspection will ask for later.
Two certifications matter most when vetting who touches your system. EPA Section 608 certification is a legal requirement for any technician handling refrigerant, covering recovery, charging, and disposal. NATE certification (North American Technician Excellence) is a voluntary but widely respected credential showing a technician passed standardized testing on installation and service competency. Ask to see both before signing a contract, not after.
A family-owned HVAC company built around this exact standard has technicians who are NATE-certified, meaning they’ve passed independent testing on installation and diagnostic skills. Their technicians are non-commissioned, so there is no financial incentive to upsell equipment you don’t need. Emergency service availability for system failures outside normal hours is often offered. Maintenance plans similar to the Tru Comfort Advantage program help preserve installation efficiency and warranty protection.
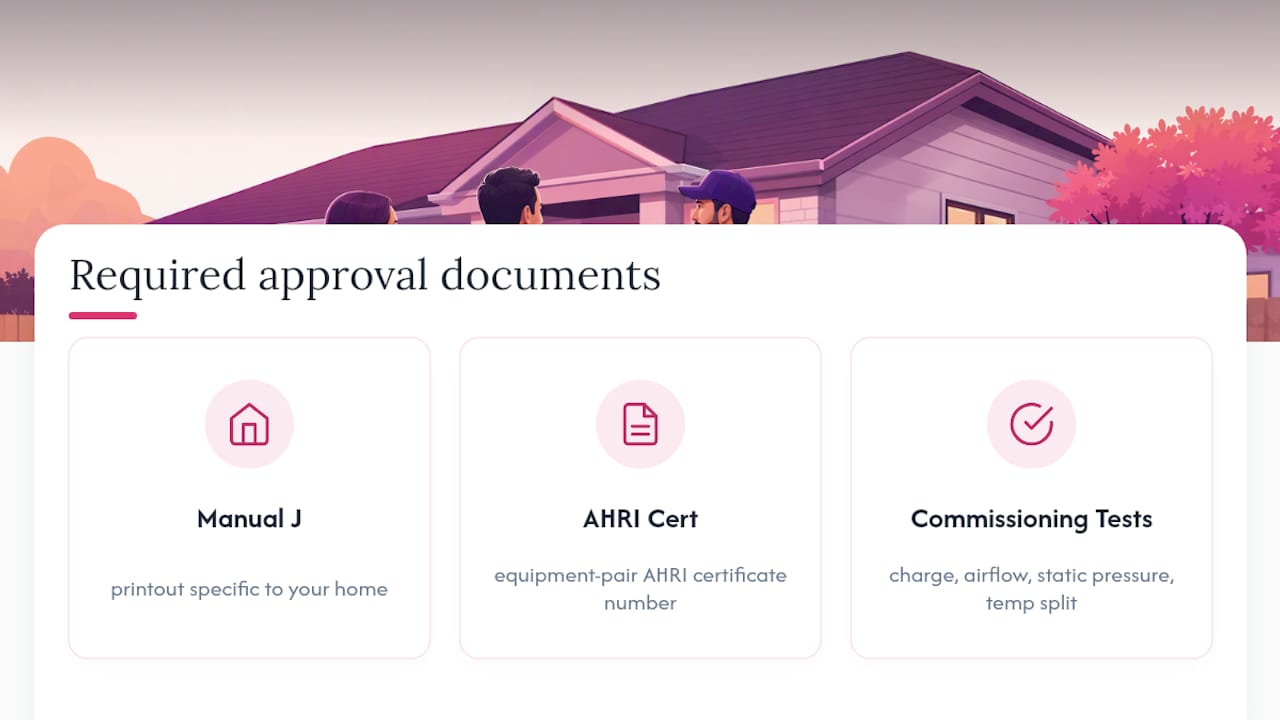
When you’re comparing bids, ask every contractor for the same three things: a Manual J printout specific to your home, the AHRI certificate number for the proposed equipment pair, and a commitment to hand over commissioning test values at project close. A contractor who hesitates on any of the three is telling you something.
What I’ve Learned Watching Installs Go Wrong
The installs that fail almost never fail because of bad equipment. They fail because someone skipped the boring parts: the load calculation, the duct test, the fifteen minutes it takes to actually weigh in a refrigerant charge instead of eyeballing it. I’ve seen brand-new, top-tier condensers paired with leaky, undersized ducts from a system installed a decade earlier, and the homeowner ends up just as uncomfortable as before, wondering why they spent the money.
Insist on the documentation. A Manual J printout and a commissioning test-out sheet cost the contractor almost nothing to produce, and they tell you everything about whether the job was done right. If a bid comes in low and skips both, it’s not a deal. It’s a gap you’ll pay for later, usually in a hotter bedroom and a shorter equipment lifespan.
Get a Documented AC Installation Quote
A lot of HVAC quotes are one number scribbled on a card with no Manual J, no AHRI match confirmation, and no commissioning plan attached. Trucomfortaz builds every estimate around the opposite approach: a home evaluation, a documented load calculation, and NATE-certified, non-commissioned technicians who have no reason to sell you more equipment than your house actually needs.

If your ductwork needs attention alongside the new equipment, that gets scoped and priced as part of the same estimate rather than discovered as a surprise mid-install. The same team handling your air conditioner installation can also set you up with a maintenance plan afterward, so the documentation and warranty protection you get at handoff actually stays valid year after year. If your system is down right now and you’re in New River or the surrounding area, emergency service is available outside normal hours too. Request your estimate and ask for the Manual J and commissioning plan up front. It’s a fair question, and you should expect a straight answer.
Where to Verify These Standards Yourself
A few government and industry sources let you check any contractor’s claims against the actual standard, rather than taking a sales pitch at face value.
- Building Science Education’s HVAC Quality Installation page explains the efficiency case for correct installation and commissioning.
- ENERGY STAR’s HVAC bid comparison checklist gives you the exact questions to ask contractors before signing.
- EPA’s Section 608 certification page lets you confirm what refrigerant handling certification legally requires.
- Building America’s HVAC guide covers the whole-house, test-in/test-out approach contractors should follow.
Sources
- HVAC Quality Installation | Building Science Education
- Heating & Air Conditioning Installation Bid Comparison Checklist — ENERGY STAR
- EPA: Section 608 technician certification requirements
- Building America Best Practices: HVAC guide for contractors
FAQ
What Is the Process of AC Installation?
The process runs from load calculation and permitting, through site and duct preparation, equipment removal, mechanical and electrical installation, refrigerant charging, and final commissioning tests. A complete installation ends with documentation: a Manual J printout, an AHRI certificate, and a commissioning test-out sheet showing verified airflow and refrigerant charge.
How Long Does a Typical AC Installation Take?
A straightforward replacement with existing, correctly sized ductwork usually takes one day. Projects that need duct modifications or an electrical panel upgrade often stretch across two or more days.
Why Does My Contractor Need an EPA Section 608 Certification?
Federal law requires any technician who handles refrigerant, including recovery, charging, or disconnecting lines, to hold EPA Section 608 certification. It’s not optional paperwork; it’s a legal requirement tied to the individual technician doing the work.
What Is an AHRI Certificate and Why Does It Matter?
An AHRI certificate confirms your condenser and coil are a factory-tested, matched pair rated for a specific efficiency level. Installing an unmatched pair can mean you don’t actually get the SEER rating you paid for, and it can affect manufacturer warranty coverage.
Can Improper Installation Really Hurt My AC’s Performance?
Yes, significantly. ENERGY STAR’s bid checklist warns that improper installation can cut system performance by as much as 30%, while a correctly installed and commissioned system can improve efficiency by 18% to 36% compared to a poorly installed one.
Does Trucomfortaz Handle the Full Installation Process?
Yes. HVAC technicians certified in NATE and non-commissioned handle the full air conditioner installation process for homeowners, from load calculation through commissioning and documentation. Current pricing is available directly through the company’s site rather than as a flat published rate.