AC Maintenance Checklist: What Homeowners Should Do
Do eight tasks now, then repeat them on a monthly, seasonal, or annual clock, and your AC will run cleaner, cost less, and break down less often. This week: swap the filter, clear leaves and grass clippings from around the outdoor unit, check the condensate drain for clogs, confirm your thermostat is set correctly, and run the system for ten minutes to listen for odd noises. Then get a professional tune-up booked before the weather turns.
- Check or replace the air filter
- Clear debris from around the outdoor condenser
- Inspect and clear the condensate drain line
- Check thermostat settings and batteries
- Run a quick airflow test at each register
- Look over refrigerant line insulation for gaps
- Straighten bent condenser fins if needed
- Schedule a pre-season professional tune-up
Filters get checked monthly during peak cooling season. Coil cleaning, fin straightening, and drain clearing happen seasonally, ideally each spring. The full professional inspection is an annual event. Keeping to that rhythm isn’t just tidy housekeeping. Following a regular maintenance schedule can reduce heating and cooling costs by about 10% or more while adding years to the equipment’s working life.
Key Takeaways
| Point | Details |
|---|---|
| Filter checks | Check monthly during peak season; replace every 60 to 90 days or sooner in dusty homes. |
| Seasonal coil care | Clean the condenser coil and straighten fins each spring before summer demand hits. |
| Safety-first DIY | Cut power before any panel work and leave refrigerant, capacitors, and electrical repairs to a technician. |
| Documentation matters | Keep every service invoice and date logged to protect manufacturer warranty coverage. |
| Professional plans | Tru Comfort’s maintenance plan bundles NATE-certified tune-ups with priority scheduling ahead of peak season. |
Table of Contents
- The Full AC Maintenance Checklist, Step by Step
- When Should You Do Each Maintenance Task?
- When Should You Call an HVAC Professional?
- What Tools and Safety Gear Do You Need?
- Does Routine Maintenance Actually Save Money?
- Why This Checklist Actually Matters
- A Maintenance Plan That Protects Your Investment
- Sources
The Full AC Maintenance Checklist, Step by Step
Work through these in order. Most take fifteen minutes or less, and none require you to open the sealed refrigerant system or touch anything electrical beyond flipping a breaker.
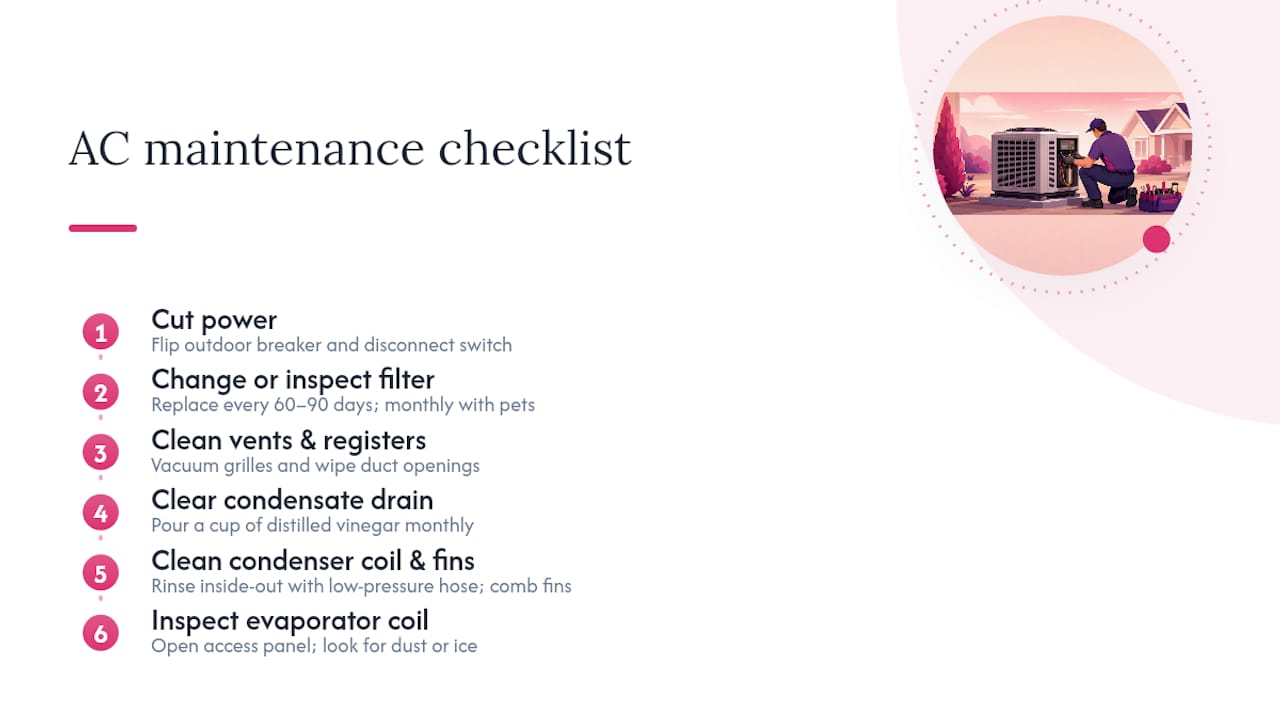
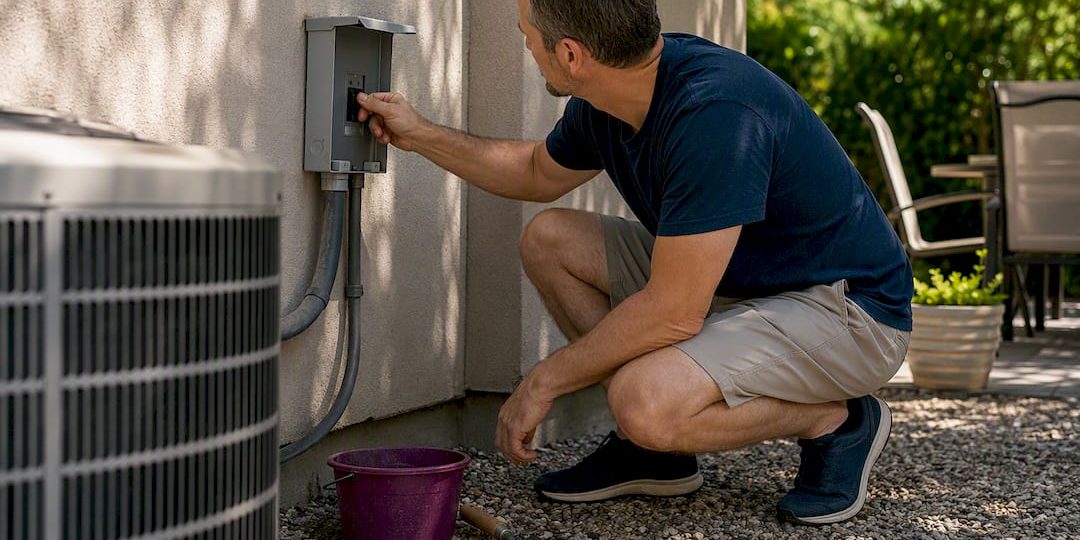
1. Cut the power first. Flip the breaker for the outdoor unit and the disconnect switch near it, if one exists. Ten seconds, zero cost, and it’s the one step that prevents most DIY injuries.
2. Change or inspect the air filter. Pull the filter, hold it up to a light, and replace it if you can’t see through it clearly. Standard 1 inch pleated filters run every 60 to 90 days; homes with pets or dusty conditions need monthly swaps. Note the airflow arrow on the frame; it should point toward the blower, not away from it. Takes two minutes. The DOE recommends checking filters monthly during heavy use, so mark a reminder if you tend to forget.
3. Clean vents and registers. Vacuum the grilles and wipe down the visible ductwork opening. A blocked register forces the blower to work harder for the same output.
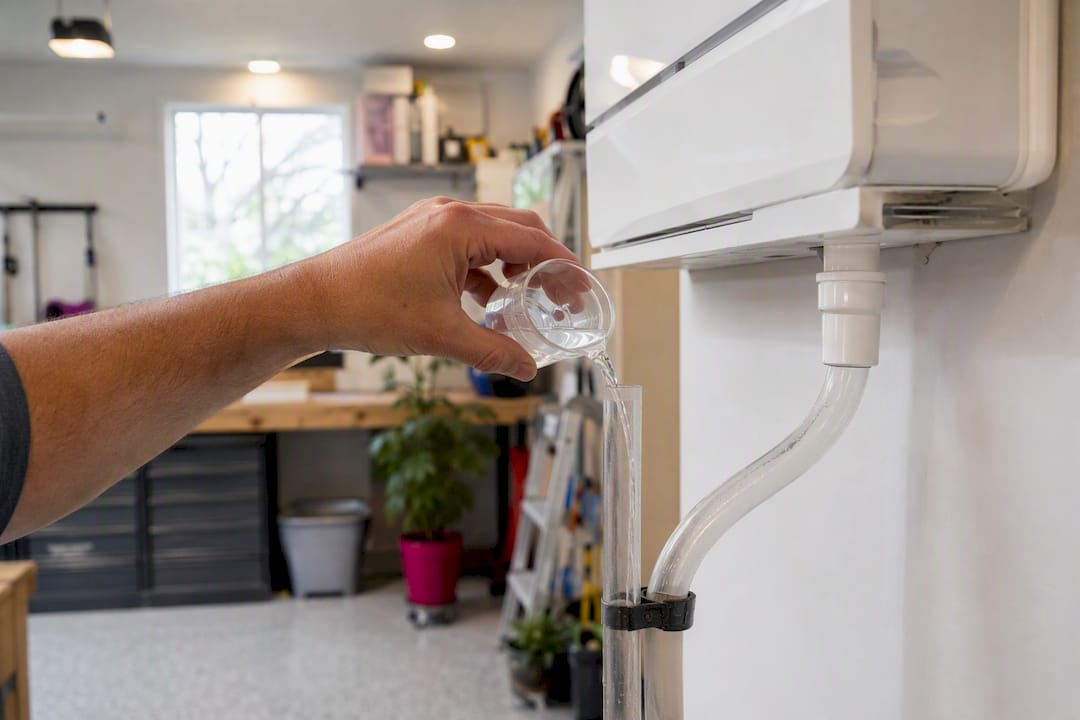
4. Clear the condensate drain. Locate the PVC drain line near the indoor unit and pour a cup of distilled vinegar through it monthly during cooling season. If it’s slow, feed a stiff pipe cleaner or a length of flexible wire gently into the opening to break up algae buildup. A clogged drain is the single most common cause of indoor water damage from an AC system.
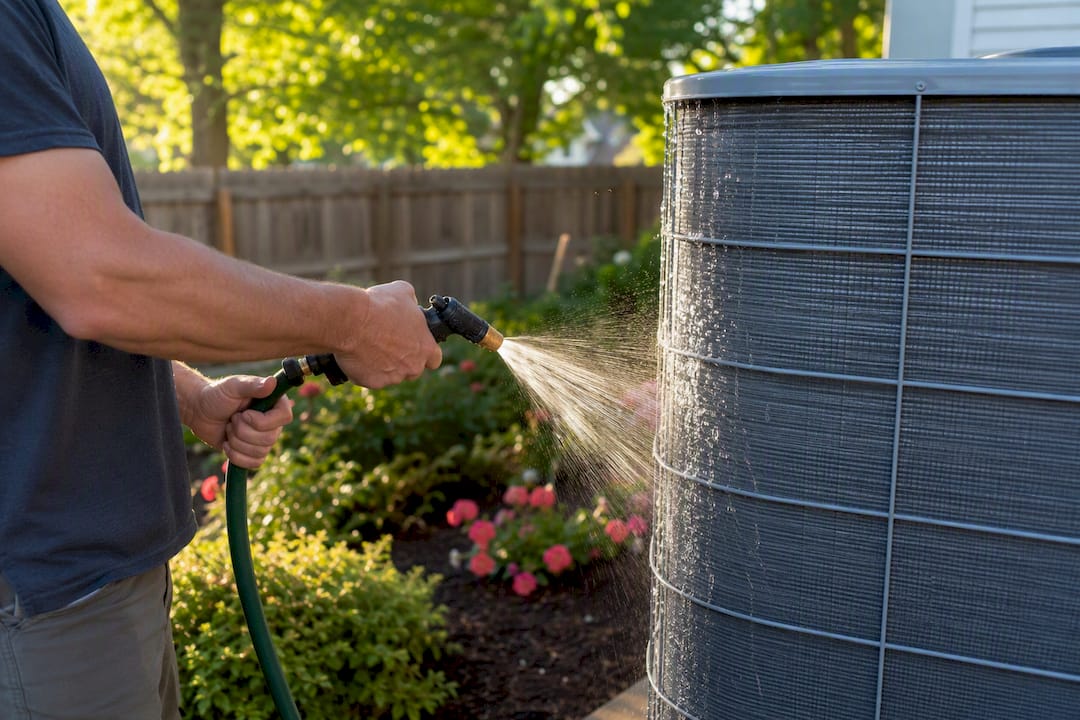
5. Clean the condenser coil and straighten fins. With power off, rinse the outdoor coil with a garden hose on low pressure, spraying from the inside out to push debris away from the unit rather than deeper into it. Use a fin comb on any bent aluminum fins; they’re soft and crush easily under a bare hand.
6. Inspect the evaporator coil visually. Open the indoor access panel if your system allows it and look for dust buildup or ice. A frosted coil in summer means something else is wrong, usually low airflow or a refrigerant issue, and it’s a stop-and-call-a-pro moment.
7. Check refrigerant line insulation. The thicker copper line running to the outdoor unit should be wrapped in foam insulation. Torn or missing insulation forces the system to work harder; note it for your technician rather than trying to recharge anything yourself.
8. Look, don’t touch, at electrical connections. Open the outdoor disconnect panel with power off and visually check for scorch marks, loose wire nuts, or corrosion. Do not probe with anything metal. This is purely a “note it and report it” step.
9. Confirm the outdoor unit is level and clear. A tilted pad drains poorly and strains the compressor over time. Keep two feet of clearance on all sides for airflow.
10. Run a full system test. Set the thermostat to cool, let the system run for ten minutes, then shut it off and listen. Grinding, squealing, or a burning smell during this test means stop and call a technician.
Pro Tip: Rinse condenser fins from the inside facing out. Spraying from outside in just packs cottonwood fluff and dust deeper into the coil.
Pro Tip: A shop vac on the drain line’s outdoor exit point clears stubborn clogs faster than any brush.
When Should You Do Each Maintenance Task?
- Spring: Clean the condenser coil, check refrigerant line insulation, and book your pre-season professional tune-up.
- Summer: Check filters monthly, listen for new noises, clear drain lines weekly if humidity is high.
- Fall: Have the furnace inspected while the AC coil gets a final debris check.
- Winter: Cover or shield the outdoor unit from ice and debris; verify the thermostat schedule matches your routine.
ENERGY STAR and the Department of Energy recommend booking AC checkups in spring and furnace checkups in fall, ahead of peak demand. Hot, dusty climates need filter checks closer to monthly year round rather than seasonally.
When Should You Call an HVAC Professional?
Some signs mean stop the checklist and pick up the phone. Watch for: a burning smell from the vents, hissing near the refrigerant lines, ice forming on the copper lines, oily residue on the coils, the breaker tripping repeatedly, or a sudden, unexplained drop in airflow. Any of these point to problems, like refrigerant leaks or electrical faults, that fall outside safe DIY territory.
A proper professional tune-up mirrors what ENERGY STAR and the DOE outline as core maintenance: tightening electrical connections, checking refrigerant charge, measuring airflow across the coil, cleaning both coils thoroughly, and testing safety controls. If your technician skips most of that list, you’re not getting a full tune-up.
Book early. Technicians get booked solid once temperatures spike, and a spring appointment beats a July emergency call every time. One-time visits typically run $80 to $250, while many providers offer maintenance plans that bundle the visit with priority scheduling and repair discounts.
Pro Tip: If you notice any of the ten warning signs of a struggling AC unit, don’t wait for the next scheduled visit. Catching a problem early is almost always cheaper than the repair that follows a full breakdown.
What Tools and Safety Gear Do You Need?
Keep a small kit ready: a fresh filter of the correct size, a soft brush, a garden hose with a low-pressure nozzle, a stiff wire or pipe cleaner for the drain, a basic screwdriver set, work gloves, and eye protection. A multimeter helps confirm power is truly off, but only use one if you’re already comfortable with electrical testing.
Two non-negotiable rules: always cut power at the breaker before opening any panel, and never touch a capacitor or refrigerant line yourself. Three fast checks anyone can run safely: confirm the thermostat mode and battery charge, feel for airflow at each register, and listen for grinding or rattling during a test cycle.
Does Routine Maintenance Actually Save Money?
It does, and the number is bigger than most homeowners expect. A consistent maintenance schedule can cut heating and cooling costs by roughly 10% or more, according to the Department of Energy, while also stretching the system’s usable life well past what a neglected unit achieves.
A trained technician catches things a homeowner’s checklist can’t: a slowly failing capacitor, a refrigerant charge running a few degrees off, a blower motor bearing starting to wear. That’s the value a NATE-certified technician brings, backed by refrigerant handling credentials from the EPA. Keep every service invoice and maintenance date in one folder or app; most manufacturers require documented professional service to honor a warranty claim.
- Look for NATE certification when hiring
- Confirm EPA refrigerant certification for any refrigerant work
- Save every invoice and service date for warranty protection
Why This Checklist Actually Matters
Most homeowners treat AC maintenance like flossing: they know they should, they mean to, and then a hot week arrives and the whole system is limping. The checklist above works because it separates what’s genuinely safe to do yourself from what isn’t, instead of pretending every task belongs in one bucket.
The mistake I see most often isn’t skipping maintenance entirely. It doesn’t. A clean filter means nothing if the coil underneath is caked in dust or the refrigerant charge has drifted. New River and Anthem summers push systems hard enough that small inefficiencies compound fast, turning a minor coil issue into a July breakdown. Homeowners who treat the seasonal pro visit as optional, rather than as the other half of the checklist, are the ones calling for emergency service in August.
A Maintenance Plan That Protects Your Investment
Skipping the checklist rarely saves money. It just moves the cost from a scheduled spring visit to an emergency call three months later, at a higher price and with less availability. Tru Comfort’s maintenance plan bundles the professional side of this checklist, coil cleaning, refrigerant checks, electrical inspection, and documented service history, into a single scheduled visit with priority booking when the summer rush hits.

Every visit is handled by a NATE-certified technician, with EPA-certified refrigerant work when a system needs it, and every service gets logged for your records in case a warranty claim comes up later. If your last professional tune-up is more than a year behind you, check out the Tru Comfort Advantage plan and get on the schedule before temperatures climb.
Sources
- Maintenance Checklist | ENERGY STAR
- Consumer guide to home heating and cooling (DOE PDF)
- Cost to DIY vs hire a pro for HVAC maintenance | HVACDatabase
Recommended
- How Often Should You Do Regular Maintenance On Your House AC Unit? | Tru Comfort
- Ten Signs Your Home AC Unit May Need Maintenance | Tru Comfort
- How Often Should Home AC Systems Be Maintained In New River and Anthem, AZ? – Tru Comfort
- How Often Should You Perform Routine Maintenance On Your AC in Anthem and New River, AZ?