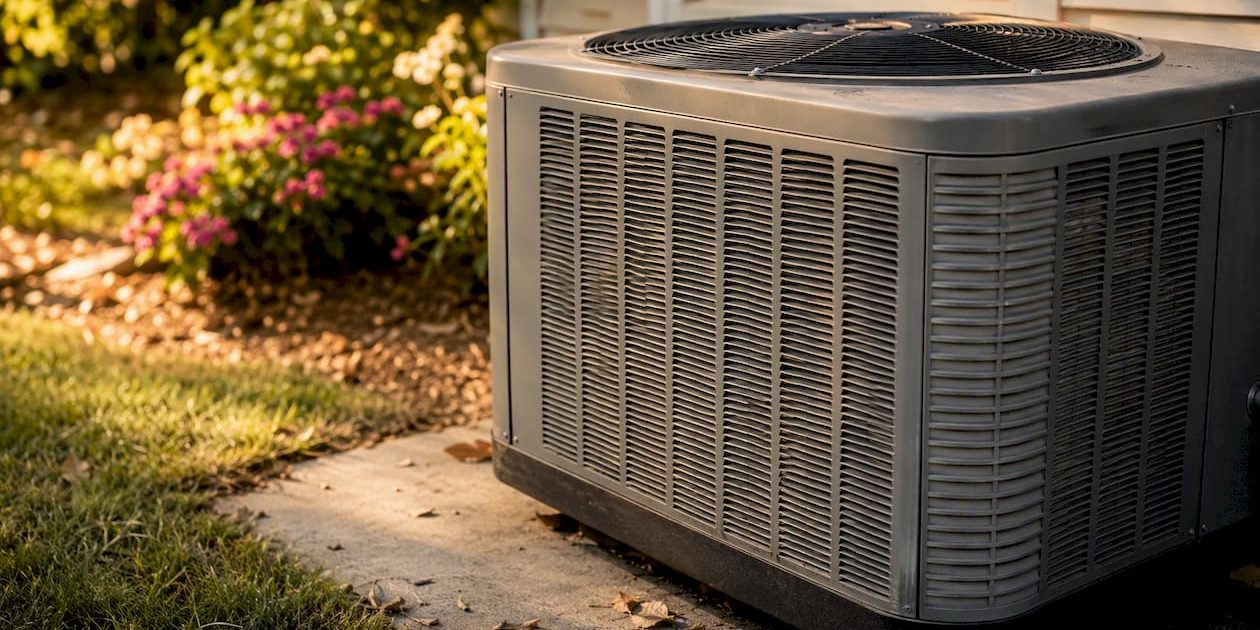
AC Compressor Failure Signs Every Homeowner Should Know
If your AC is blowing warm air, making grinding or clanking noises, tripping the breaker repeatedly, or the outdoor fan is spinning while the compressor stays silent, your compressor may be failing. Turn the system off and call a NATE-certified technician. Do not keep resetting the breaker.
The five most urgent AC compressor warning signs are:
- Warm or room-temperature air from vents despite the thermostat calling for cooling
- Loud grinding, clanking, or rattling from the outdoor unit
- The circuit breaker trips repeatedly when the AC runs
- The outdoor fan runs but you hear no compressor hum or vibration
- A sudden, unexplained spike in your electricity bill
Three safe checks you can do right now before calling anyone:
- Check the thermostat: confirm it is set to “cool” and the setpoint is below room temperature.
- Look at the outdoor unit: any visible oil stains or wet spots on the ground near the unit suggest a refrigerant or oil leak.
- Check the breaker panel: if the breaker has tripped, reset it once. If it trips again, leave it off.
Pro Tip: If you hear grinding metal or see smoke coming from the outdoor unit, shut the system off at the thermostat and the breaker immediately. Do not restart it.
A diagnostic visit from a qualified technician typically runs $80–$200. Compressor repairs or replacements commonly range from several hundred to several thousand dollars depending on unit size and labor. For systems older than 10–12 years, replacing the entire outdoor unit is often the smarter financial call.
Key Takeaways
Catching AC compressor failure signs early, acting on the right ones immediately, and insisting on a root-cause diagnosis before any repair approval are the three decisions that protect your investment.
| Point | Details |
|---|---|
| Top urgent signs | Warm air, grinding noise, repeated breaker trips, outdoor fan running with no compressor hum. |
| Safe homeowner checks | Verify thermostat, replace the filter, clear the outdoor unit, and reset the breaker only once. |
| Repair vs. replace rule | Systems older than 10–12 years usually warrant a full unit replacement over a compressor repair. |
| Cost range | Diagnostic visits run $80–$200; compressor repairs range from several hundred to several thousand dollars. |
| Trucomfortaz | NATE-certified, non-commission technicians provide documented diagnostics and honest repair vs. replace guidance. |
Table of Contents
- What the compressor actually does and why it matters
- 1. Warm or room-temperature air from the vents
- 2. Unusual noises from the outdoor unit
- 3. The circuit breaker trips repeatedly
- 4. Short cycling (the system starts and stops rapidly)
- 5. Hard starting or shuddering vibration on startup
- 6. The outdoor fan runs but the compressor is silent
- 7. Ice buildup on refrigerant lines or the indoor coil
- 8. Visible oil stains or wet spots near the outdoor unit
- 9. Unexplained spike in energy bills
- What actually causes compressors to fail
- Safe checks you can do before the technician arrives
- Should you repair or replace? A practical guide
- Maintenance steps that prevent compressor failure
- When to call a technician and what they should check
- An honest perspective on compressor diagnosis
- Trucomfortaz can diagnose your compressor the right way
- Sources
What the compressor actually does and why it matters
The AC compressor is the heart of your cooling system. It pressurizes refrigerant and pumps it through the system, creating the pressure difference that allows heat to transfer from inside your home to the outside air. No working compressor means no cooling, full stop.
When the compressor struggles or fails, the refrigerant cycle breaks down. The system may run continuously without dropping the indoor temperature, or it may short-cycle (start and stop rapidly) because it cannot sustain the pressure needed to complete a cooling cycle. Both behaviors waste energy and accelerate wear on every other component.
A compressor that appears dead may simply be in thermal overload. A technician who tests winding resistance on a hot compressor can get a false “open winding” reading and condemn a unit that is actually fine. The correct protocol is to let the compressor cool first, then test.
That distinction matters in practice because it changes the repair bill by thousands of dollars. Proper no-start diagnosis requires patience and sequence, not just a quick meter reading.
1. Warm or room-temperature air from the vents
What it looks like: The system runs, air moves through the vents, but the air is not cold. The thermostat never reaches setpoint.
Why it happens: The compressor is not pressurizing refrigerant adequately, so the refrigerant cannot absorb heat from the indoor air. The result is air that feels neutral or even slightly warm.
Quick check: Set the thermostat 5°F below room temperature and let the system run for 10–15 minutes. Hold your hand near a supply vent. If the air is not noticeably cooler, something is wrong upstream, and the compressor is the likely suspect once you rule out a dirty filter or a refrigerant leak.
Urgency: Soon. The system is not cooling, but this alone is not a safety emergency.
2. Unusual noises from the outdoor unit
What it looks like: Grinding, clanking, rattling, screeching, or a loud bang when the unit starts or runs. A guide to AC unit sounds can help you identify which noise category you are hearing.
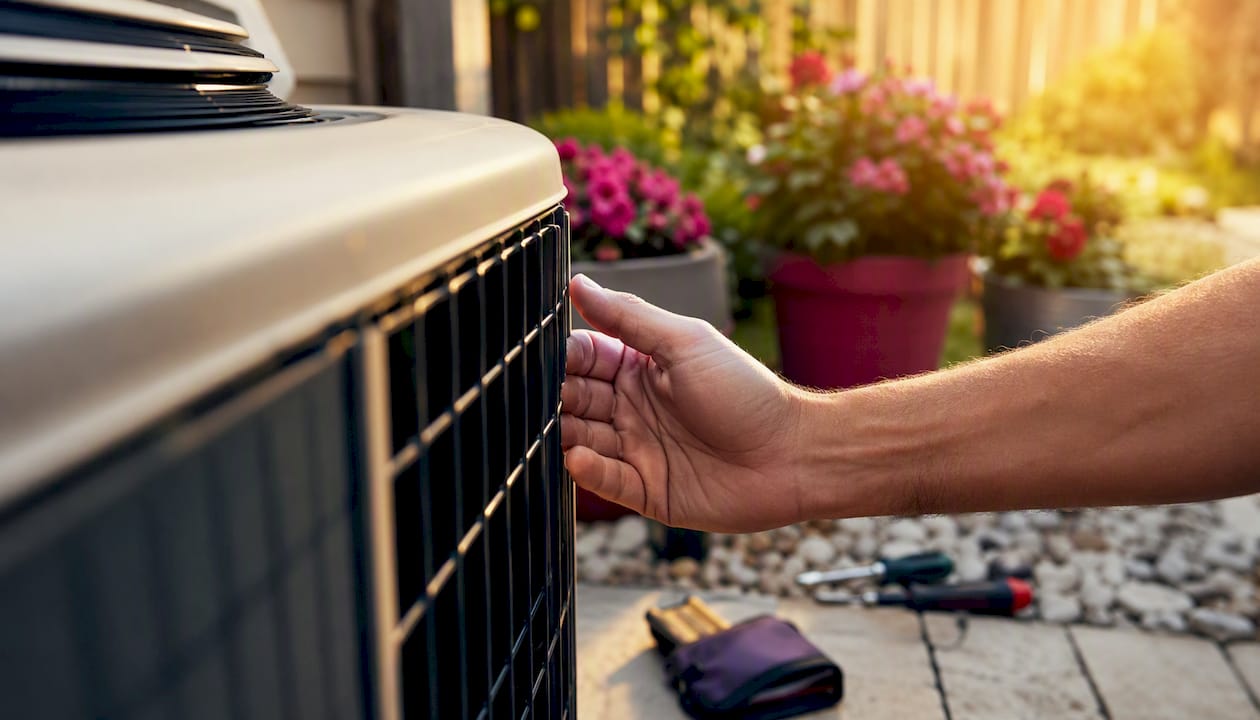
Why it happens: Grinding usually means worn or failing bearings inside the compressor. Clanking or banging often points to a loose or broken internal component. A screeching sound on startup can signal a seized piston or a failing motor. Rattling may be debris in the unit, but if it comes from inside the compressor housing, it is more serious.
Quick check: Walk to the outdoor unit and listen carefully. Is the noise coming from inside the metal compressor housing, or from the fan blade area? Fan-related noise is usually cheaper to fix. Compressor-internal noise is not.
Urgency: Now. Grinding or clanking from the compressor body warrants shutting the system off immediately.
Pro Tip: Record a short audio clip on your phone before you turn the unit off. Your technician will find it genuinely useful for diagnosis, especially if the noise is intermittent.
3. The circuit breaker trips repeatedly
What it looks like: You reset the breaker, the AC runs briefly, then the breaker trips again. This may happen within seconds or after a few minutes.
Why it happens: A compressor drawing too much amperage, a hard-starting compressor, or a failing capacitor can all cause repeated trips. The breaker is doing its job by protecting the wiring, but the underlying cause needs diagnosis.
Quick check: Reset the breaker once. If it trips again, leave it off. Repeatedly resetting a tripping breaker can damage wiring and create a fire hazard.
Urgency: Now. Repeated trips are a sign of a serious electrical draw problem that needs professional attention.
4. Short cycling (the system starts and stops rapidly)
What it looks like: The outdoor unit kicks on, runs for 30–90 seconds, shuts off, then restarts a few minutes later. The house never cools down.
Why it happens: A compressor that cannot sustain operating pressure will overheat quickly and trigger its internal thermal overload, which shuts it down. Once it cools slightly, it restarts, only to overheat again. Low refrigerant charge, a failing capacitor, or a mechanically worn compressor can all produce this pattern.
Quick check: Time the on/off cycles. A normal cooling cycle runs 10–20 minutes. Cycles shorter than 5 minutes, especially when the house is not at setpoint, are abnormal.
Urgency: Soon to now, depending on frequency. Frequent short cycling accelerates compressor wear fast.
5. Hard starting or shuddering vibration on startup
What it looks like: The outdoor unit shudders, vibrates heavily, or takes several attempts to start. You may hear a loud hum before it finally kicks on, or it may fail to start at all.
Why it happens: A failing start capacitor is the most common culprit and is far cheaper to fix than a compressor. However, a mechanically seized or electrically compromised compressor produces identical symptoms. A failed capacitor frequently mimics compressor failure for homeowners, which is why electrical testing must come before any compressor replacement decision.
Quick check: Watch the outdoor unit at startup. Does the fan blade spin freely while the compressor struggles? That pattern points toward the capacitor or contactor rather than the compressor itself.
Urgency: Soon. A bad capacitor is a $100–$300 fix. Ignoring it can burn out the compressor.
6. The outdoor fan runs but the compressor is silent
What it looks like: You can see and hear the outdoor fan spinning normally, but there is no low hum or vibration from the compressor body. The house does not cool.
Why it happens: The fan motor and compressor run on separate electrical circuits. A failed contactor, a dead capacitor on the compressor circuit, or a seized compressor can all stop the compressor while leaving the fan running.
Quick check: Stand near the outdoor unit with the system running. Place your hand near (not on) the compressor housing. A working compressor vibrates noticeably. No vibration at all, while the fan spins, is a clear signal something is wrong.
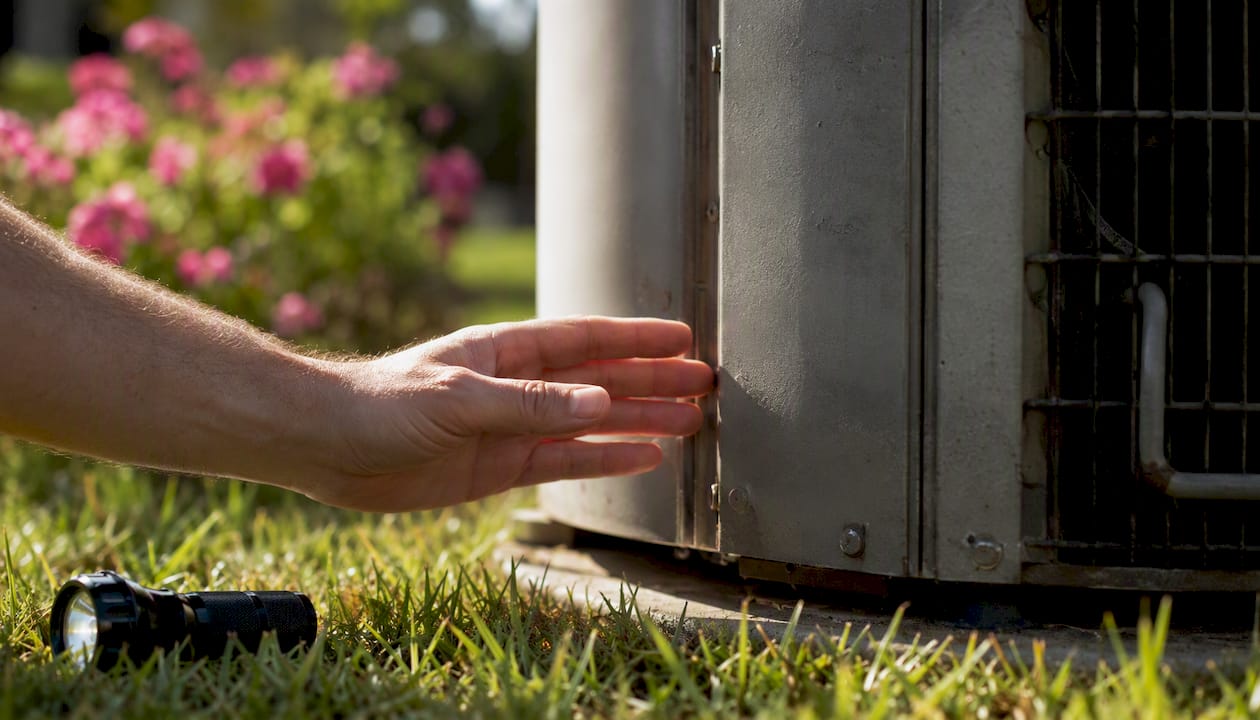
Urgency: Soon to Now. This is one of the cleaner diagnostic signals that the compressor itself has stopped.
7. Ice buildup on refrigerant lines or the indoor coil
What it looks like: Ice forming on the copper lines running to the outdoor unit, or visible frost on the indoor evaporator coil (usually behind the air handler access panel).
Why it happens: Ice forms when refrigerant pressure drops too low, usually from a refrigerant leak or severely restricted airflow. A struggling compressor that cannot maintain proper suction pressure can also cause the evaporator coil to drop below freezing.
Quick check: Turn the system off and let the ice melt completely (this can take 1–2 hours). Check and replace the air filter. If ice returns after the system restarts with a clean filter, the cause is likely refrigerant-related and needs a technician.
Urgency: Soon. Running the system with a frozen coil can damage the compressor by sending liquid refrigerant back to it.
8. Visible oil stains or wet spots near the outdoor unit
What it looks like: Dark, greasy stains on or around the compressor housing, or wet spots on the concrete pad beneath the outdoor unit.
Why it happens: Compressors use oil for internal lubrication. A crack or seal failure can allow oil to escape, and refrigerant often escapes with it. Low oil means the compressor runs without adequate lubrication, which accelerates bearing and piston wear dramatically.
Quick check: Look at the base of the outdoor unit and the refrigerant line connections. Any oily residue is worth noting and reporting to your technician.
Urgency: Soon. Oil loss is a slow-moving failure, but it will eventually seize the compressor if ignored.
9. Unexplained spike in energy bills
What it looks like: Your electricity bill jumps noticeably during cooling season without a change in usage habits or outdoor temperatures.
Why it happens: A compressor that is losing efficiency draws more amperage to produce the same (or less) cooling output. The system runs longer and harder, and the meter reflects it.
Quick check: Compare your current bill to the same month last year.
Urgency: Watch. This symptom alone rarely indicates imminent failure, but combined with any other sign on this list, it strengthens the case for a service call.
What actually causes compressors to fail
Most compressor failures are system-created rather than isolated component failures. Replacing the compressor without diagnosing the upstream cause is one of the most expensive mistakes a homeowner can make, because the new compressor will fail for the same reason.
The main causes, and the symptoms they tend to produce:
- Electrical problems (bad capacitors, contactors, wiring, voltage issues): Hard starting, no-start, repeated breaker trips, outdoor fan running without compressor. A capacitor failure is the most common electrical cause and the cheapest fix.
- Overheating from dirty condenser coils or blocked airflow: Short cycling, high energy bills, and eventual seized bearings. Overheating is a leading cause of compressor failure, with field technicians using a rule of thumb that discharge line temperature measured 6 inches from the compressor should not exceed ~225°F.
- Refrigerant issues (leaks, undercharge, overcharge, liquid floodback): Warm air, ice buildup, short cycling, and low suction-line temperature. An undercharged system starves the compressor of the refrigerant vapor it needs for cooling and lubrication. An overcharged system sends liquid refrigerant back to the compressor, which cannot compress liquid.
- Contamination and moisture: Acid, debris, and moisture in the refrigerant circuit cause copper plating and oil degradation. The compressor runs in a contaminated environment until bearings or windings fail. Moisture and contamination are frequent contributors to premature failure, which is why replacing the filter-drier and properly evacuating the system after any opening is non-negotiable.
- Age and mechanical wear: Bearings wear, pistons wear, and windings degrade over years of thermal cycling. A compressor on a 12–15 year old system may simply be at end of life.
Pro Tip: If a technician recommends replacing your compressor without mentioning airflow, refrigerant charge, or contamination checks, ask directly: “What caused this compressor to fail?” A good technician will have an answer before they order the part.
Refrigerant regulations are also shifting. The 2025 R-410A phase-out affects service costs and parts availability for older systems, which is worth factoring into any repair-vs-replace decision on a unit that uses that refrigerant.
Safe checks you can do before the technician arrives
There is a clear line between what homeowners can safely inspect and what they must leave alone.
Safe to check:
- Thermostat settings: Confirm it is set to “cool,” the fan is on “auto,” and the setpoint is below current room temperature.
- Air filter: A clogged filter restricts airflow and can cause the compressor to overheat. Pull it out and hold it up to light. If you cannot see light through it, replace it.
- Supply and return vents: Walk through the house and confirm all vents are open and unblocked by furniture or rugs.
- Outdoor unit clearance: The unit needs at least 2 feet of clearance on all sides. Remove leaves, grass clippings, or debris from around and on top of the unit.
- Breaker panel: Note whether the AC breaker has tripped. Reset it once. If it trips again, leave it off and report this to your technician.
- Outdoor fan observation: With the system running, confirm the fan blade is spinning. If the fan is still but the compressor hums, or the fan spins but nothing else runs, note which.
- Oil or wet spots: Check the concrete pad under the outdoor unit for stains.
Never touch these:
- Refrigerant lines (the copper pipes running to the outdoor unit): they can be extremely cold or hot and contain pressurized refrigerant.
- Electrical components inside the outdoor unit, including the capacitor, which holds a lethal charge even after the power is off.
- Any attempt to add refrigerant yourself: handling refrigerant requires EPA Section 608 certification and specialized equipment.
What to tell your technician when you call: the symptoms you noticed, when they started, any unusual noises (play the audio clip if you recorded one), the age of the unit, the last time it was serviced, and whether any power events (brownouts, surges, lightning) occurred recently.
Should you repair or replace? A practical guide
The decision comes down to four factors: age, cost, efficiency, and root cause.
The 10–12 year rule: Industry experts consistently recommend considering full outdoor unit replacement rather than compressor-only repair when a system is 10–12 years old or older. The reasoning is straightforward: a new compressor in an aging system still leaves you with aging coils, aging electrical components, and no warranty on the rest of the unit. You pay compressor-replacement money for a fraction of the benefit.
Pro Tip: Apply the “5,000 rule” as a quick gut check: multiply the system’s age by the repair cost. If the result exceeds $5,000, replacement is usually the better financial choice.
A short decision checklist before you approve any repair:
- Is the system older than 10–12 years?
- Does the repair cost exceed 50% of a new unit’s installed price?
- Is the existing warranty expired?
- Has the technician identified and addressed the root cause of the failure?
- Does the system use R-410A refrigerant, which is now subject to phase-out restrictions?
- Are there signs of contamination (acid, moisture) that could kill a replacement compressor?
If you answer yes to two or more of those questions, get a replacement quote before approving the repair. For deeper guidance on the decision, Trucomfortaz’s repair vs. replace guidance walks through the local considerations in detail.
Maintenance steps that prevent compressor failure
Most compressor failures are preventable. The maintenance tasks that matter most are not complicated.
Monthly:
- Check and replace the air filter every 1–3 months (monthly in dusty climates or homes with pets).
Seasonally:
- Spring tune-up (before cooling season): Schedule a professional inspection that includes refrigerant charge verification, electrical component testing (capacitor, contactor, amp draw), coil cleaning, and a check of all electrical connections.
- Outdoor coil cleaning: Dirty condenser coils force the compressor to work harder and run hotter. A technician can clean them with a coil cleaner and low-pressure rinse during the annual tune-up.
- Clear the outdoor unit: After winter, remove any debris, leaves, or vegetation that has grown around the unit.
Annually or as needed:
- Have a technician verify refrigerant charge. Neither undercharge nor overcharge is safe for the compressor.
- Inspect electrical connections for corrosion or loose terminals.
- Consider a whole-home surge protector if your area experiences frequent lightning or power fluctuations. Voltage spikes are a documented cause of capacitor and compressor failure.
Preventive HVAC maintenance is one of the highest-return investments a homeowner can make in their cooling system. For guidance on how often to schedule professional service, Trucomfortaz’s maintenance frequency guide covers the specifics by system age and climate.
When to call a technician and what they should check
Call a technician immediately if you experience any of the following:
- Grinding, clanking, or banging from the outdoor unit
- Smoke or a burning smell from any part of the system
- The circuit breaker trips more than once in a single day
- The outdoor fan runs but the compressor makes no sound or vibration
- The system runs continuously without cooling the house
When the technician arrives, a thorough diagnostic should include:
- Amp draw test: Measures whether the compressor is drawing within its rated full-load amperage (FLA). High amp draw indicates a struggling compressor; low draw with no cooling points to a refrigerant issue.
- Capacitor test: A bench test of the start and run capacitors, not just a visual inspection.
- Contactor inspection: Check for pitting, burning, or welded contacts.
- Pressure readings: Suction and discharge pressure, superheat, and subcooling measurements confirm refrigerant charge and system health.
- Leak detection: Electronic or UV dye leak test on all refrigerant connections and the coil.
- Electrical resistance test (if no-start): Winding resistance and insulation resistance measured after the compressor has cooled, not immediately after a run cycle.
- Filter-drier inspection: If the system has been opened for any reason, the filter-drier must be replaced to prevent moisture and acid contamination.
Replacing a compressor without commissioning the new unit properly, including verifying refrigerant charge, checking for non-condensables, and confirming correct amp draw, is how a new compressor fails within a season. Ask your technician for startup documentation.
Questions worth asking your technician before approving any repair:
- Did you test the capacitor on a bench, not just visually?
- What was the measured amp draw compared to the nameplate FLA?
- Did you find and fix the root cause of the failure?
- Will you replace the filter-drier if the system is opened?
- Can you provide a written estimate with both repair and replacement options?
An honest perspective on compressor diagnosis
The single most common mistake in compressor service is skipping the root-cause diagnosis. A technician who replaces a compressor without checking airflow, refrigerant charge, contamination, and electrical quality is setting the homeowner up for a second failure within a year or two. That is not a theoretical risk. It is the pattern that experienced HVAC contractors document repeatedly.
The other thing homeowners consistently underestimate is the capacitor. A $150 capacitor replacement and a $2,500 compressor replacement produce nearly identical symptoms at the thermostat: the house is warm, the outdoor unit is not doing its job. The difference is invisible until someone runs an amp draw test and a bench capacitor test. If a technician skips those steps and goes straight to “your compressor is bad,” that is a red flag worth acting on. Get a second opinion.
For systems approaching or past 12 years, the honest advice is to get a replacement quote alongside any repair estimate. The math rarely favors a major repair on an aging system, especially once you factor in the efficiency gains from a modern unit and the refrigerant cost picture for older systems.
Trucomfortaz can diagnose your compressor the right way
When your AC stops cooling and you need a straight answer, not a guess, Trucomfortaz delivers a documented diagnostic that covers amp draw, capacitor testing, pressure readings, and leak detection before any repair recommendation is made.

Trucomfortaz is a family-owned HVAC service provider with NATE-certified technicians who work on a non-commission basis. That means the recommendation you get reflects what your system actually needs, not what generates the highest ticket. Services include diagnostic visits, compressor repair, full system replacement, and the Tru Comfort Advantage maintenance plan, which covers annual tune-ups, priority scheduling, and member discounts on repairs. If you are weighing a compressor repair against a full replacement, the repair vs. replace page is a good starting point. To book a diagnostic visit or request a second opinion on a compressor quote, contact Trucomfortaz directly.
Sources
- AC Compressor Failure: Warning Signs & What To Do Next
- Why HVAC Compressors Fail: Troubleshooting Tips and Commissioning Best Practices for Contractors | Contracting Business
- Common Causes of Compressor Failure – HVAC School
- Hvac
- Compressor failure diagnosis and replacement checklist for residential and light commercial equipment – HVAC School