7-Step Fall HVAC Maintenance Checklist to Cut CO Risk for Homeowners
Change your air filter, clear debris from the outdoor unit, test every carbon monoxide alarm, book a professional furnace inspection, and set your thermostat schedule before temperatures drop. Most of this you can do yourself in an afternoon. Combustion safety checks and heat-exchanger inspections need a qualified technician, because these catch problems a homeowner cannot see or test safely.
TL;DR:
- Check the furnace filter monthly and replace it every 1 to 3 months, with more frequent changes if your household has pets or allergies.
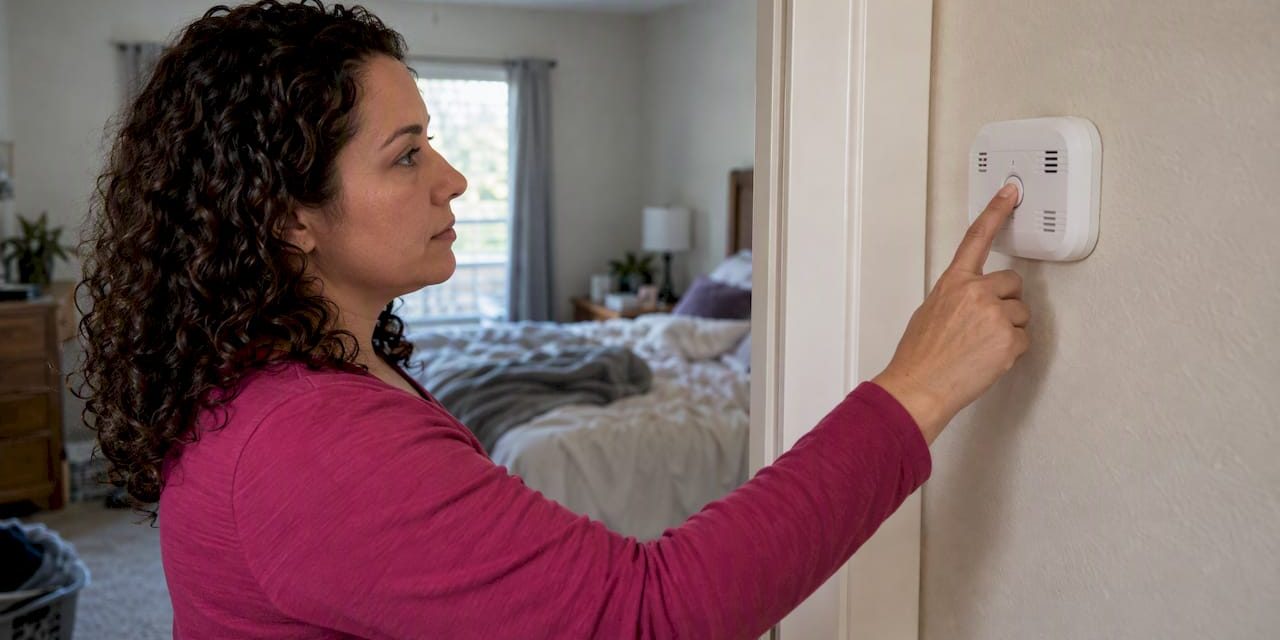
- Place carbon monoxide alarms on every level and outside sleeping areas, test them monthly, and leave combustion and heat exchanger checks to a qualified technician.
- Keep at least 2 feet of clearance around the outdoor unit, clear exhaust vents of snow and debris, and follow the manufacturer’s winterizing instructions.
- Skip routine duct cleaning unless you see mold, pests, or heavy dust; seal gaps with mastic or foil tape designed for ducts, not cloth tape.
- Run a full heating cycle before the first cold snap; repeated starts and stops or uneven room airflow signal problems for a technician.
Table of Contents
- Complete fall HVAC maintenance checklist with quick how-tos
- What you can safely do yourself (and where to stop)
- Professional fall inspection: what a technician checks and red flags to watch for
- Carbon monoxide and combustion safety: what to test and why
- Timing and cost expectations: when to book and what it usually costs
- Tools, parts, and supplies to have ready for fall maintenance
- Inspect and seal ductwork to improve efficiency and prevent leaks
- Test system operation including heating cycle and airflow balance
- Tru Comfort perspective: why the fall tune-up actually matters
- Booking a fall tune-up with Tru Comfort Advantage
- FAQ
- Sources
Complete fall HVAC maintenance checklist with quick how-tos
Work through these in order. Each step takes minutes, and together they catch the issues that cause mid-winter breakdowns.
- Replace the air filter. Check it monthly and swap it every 1 to 3 months depending on filter type and household (more often with pets or allergies).
- Clear the outdoor condenser. Remove leaves, mulch, and grass clippings, and keep at least 2 feet of clearance on all sides for airflow.
- Clean registers and return grilles. Vacuum dust and pet hair so air moves freely through every room.
- Check the condensate drain and pan. Clear any clog now, before a backup causes water damage or mold growth indoors.
- Winterize the outdoor AC unit per the manufacturer’s manual. Some models need the disconnect switch turned off for winter, but never seal vents or cover the unit completely unless the manufacturer says to.
- Test the thermostat. Confirm it responds to adjustments and program a setback schedule that lowers the temperature while you are asleep or away.
- Do a quick visual check. Look at accessible wiring, belts, and drain lines for cracking, fraying, or moisture, and flag anything unusual for your technician.
Pro Tip: Write the date on a sticker on the filter housing every time you swap it. It takes five seconds and ends the guessing game next season.
The ENERGY STAR maintenance checklist separates these resident-level tasks from the deeper checks a technician performs, and it recommends tackling heating-specific items in fall, tied to the same clock change that prompts you to check smoke detector batteries.
What you can safely do yourself (and where to stop)
Homeowners can handle filter swaps, register cleaning, light debris removal around the condenser, and a basic visual check of ducts and wiring. These need no special training, just a flashlight, gloves, and a shop vacuum.
- Swap filters and clean vents with basic hand tools.
- Clear leaves and yard debris from the outdoor unit by hand.
- Visually inspect ductwork and exposed wiring for damage.
- Note your system’s model number, age, and filter size for the technician.
Stop and call a professional if you smell gas, notice soot around the furnace, see a CO alarm repeatedly triggering, or find a vent that looks disconnected or blocked. Never open a furnace’s burner compartment or attempt to inspect the heat exchanger yourself; these require calibrated test equipment and training. If you’re unsure where to start, a homeowner’s monthly furnace checklist walks through the safe, five-minute version of these checks.
Pro Tip: Snap a photo of your furnace’s rating plate with your phone. It saves time when you call for service and need to give the model and serial number.
Professional fall inspection: what a technician checks and red flags to watch for
A fall tune-up goes well beyond what you can see or test at home. A qualified technician typically works through a standardized list:
- Tightens electrical connections and tests controls for proper response.
- Tests combustion and inspects the heat exchanger for cracks or corrosion.
- Measures gas pressure and cleans burners for even, complete combustion.
- Verifies venting is clear and properly connected.
- Lubricates motors and other moving parts.
- Checks ignition system and overall cycling behavior.
The ENERGY STAR checklist lists combustion and heat-exchanger checks as core heating-specific items, since a small crack or leak that looks harmless can become a carbon monoxide hazard or fire risk if left unaddressed. Watch for red flags between visits: a CO alarm that keeps activating, soot around vents, strong odors, a furnace that cycles on and off repeatedly, or a thermostat that stops responding. When vetting a technician, ask whether they’re NATE-certified and request a copy of the completed inspection checklist so you know exactly what was tested.
Carbon monoxide and combustion safety: what to test and why
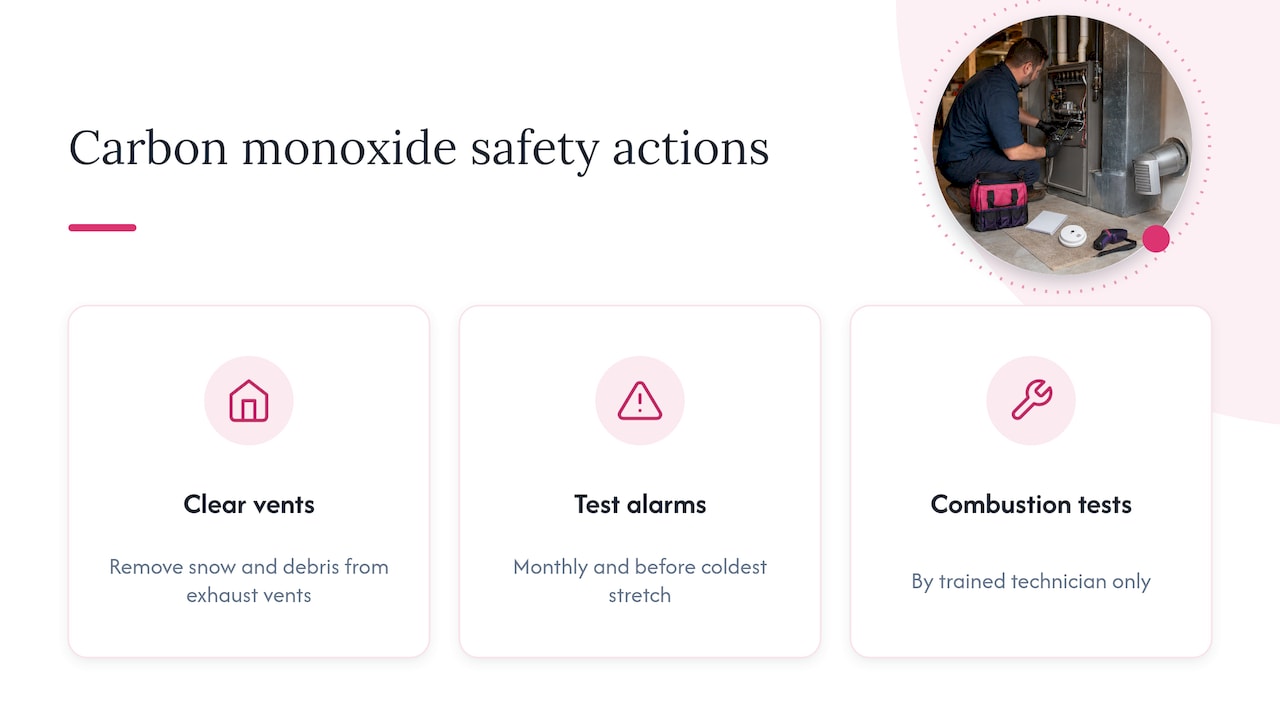
Carbon monoxide is odorless and can be fatal within minutes, and CO-related deaths peak during colder months as homes seal up and furnaces run more. The CPSC recommends a CO alarm on every level of the home and outside sleeping areas, tested monthly with batteries replaced as needed.
CO deaths rise in colder months, according to CPSC winter safety guidance, which is exactly when furnaces see their heaviest use and sealed windows trap any leaking gas indoors.
Clear snow and debris from outdoor exhaust vents to prevent backdrafting, and leave combustion testing, which involves flue-gas analysis and calibrated gas analyzers, to a trained technician. Test every alarm this month, and again before the coldest stretch of winter sets in.
Timing and cost expectations: when to book and what it usually costs
Schedule your furnace inspection before the onset of consistent cold weather to avoid peak heating season rush. A straightforward tune-up typically runs shorter than a full inspection paired with repairs, and duration depends mostly on system age and accessibility.
- Book your inspection well in advance of the heating season to ensure timely service.
- A tune-up visit runs shorter than one that includes diagnosing a specific complaint.
- Cost depends on whether it’s inspection-only, a full tune-up, or includes parts and repairs, and prices vary by region and system age.
- A maintenance plan can add priority scheduling, member discounts, and a documented service history that helps a technician spot patterns year over year.
Tools, parts, and supplies to have ready for fall maintenance
Check your filter’s printed size before buying replacements, and choose a MERV rating your system’s fan and ductwork can actually support without restricting airflow. Stock a few basics before you start:
- Correctly sized replacement filters for your system.
- Fresh batteries for every CO and smoke alarm.
- A soft brush, shop vacuum, work gloves, and a flashlight.
- Your phone camera, to record the furnace’s model and serial number for the technician.
Skip harsh chemical coil or duct cleaners unless a manufacturer specifically recommends one for your equipment. If you’re considering a higher-efficiency filter, confirm with a technician that your blower can handle the added resistance before installing it.
Inspect and seal ductwork to improve efficiency and prevent leaks
Leaky ducts let conditioned air escape into attics, crawl spaces, and walls before it ever reaches a vent, which means your furnace runs longer to hit the same thermostat setting. Walk accessible duct sections in the attic, basement, or crawl space and look for disconnected joints, crushed sections, or gaps around seams.
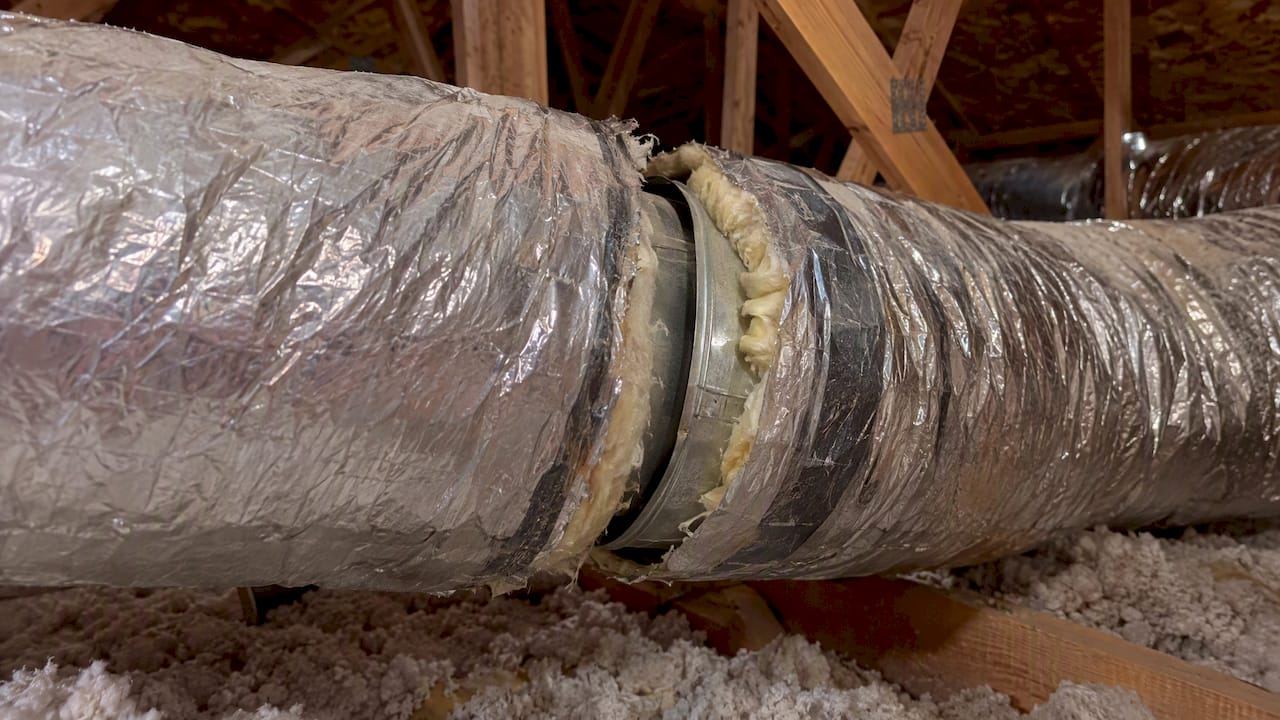
Seal small gaps with mastic sealant or foil-backed tape rated for ductwork; regular cloth duct tape dries out and fails within a year or two. Insulate ducts that run through unconditioned spaces, since bare metal ductwork loses heat fast in an unheated attic.
The EPA does not recommend routine duct cleaning for most homes. Focus instead on filter changes, coil maintenance, and drain pan upkeep, and reserve a full duct cleaning for ducts with visible mold, pest activity, or heavy dust buildup. If sealing feels beyond a DIY afternoon, or if you suspect larger leaks behind walls, a technician can pressure-test the system and identify exactly where air is escaping. Sealed, insulated ductwork is also one of the checks included in ACCA and Building Science Education standardized preventative maintenance procedures for residential systems, alongside filter and blower cleanliness and verified safe combustion.
Test system operation including heating cycle and airflow balance
Before the first cold snap, run your furnace through a full heating cycle while the house is still comfortable enough to troubleshoot without urgency. Set the thermostat a few degrees above room temperature and listen for the furnace igniting smoothly, running without unusual rattling or banging, and shutting off cleanly once the target temperature is reached.
Walk through each room while it’s running and check that air actually flows from every register. A room that stays cold while others warm up quickly often points to a closed damper, a blocked vent, or a duct leak feeding that branch. Compare how long the cycle runs across a few rooms; large differences in temperature or airflow between rooms on the same floor usually mean the system needs balancing rather than a bigger furnace.
If the furnace short-cycles, meaning it turns on and off repeatedly without completing a full heating cycle, that’s a sign for a technician rather than a DIY fix; it can point to a dirty flame sensor, airflow restriction, or a thermostat wiring issue. A clean test run now, while you have time to schedule service, beats discovering a dead zone in your house during the first freeze.
Tru Comfort perspective: why the fall tune-up actually matters
Many furnace problems each fall often trace back to small issues like unchanged filters, uncleared drains, or blocked vents. A ten-minute check in October can help prevent problems later in the winter. Our maintenance plans exist for homeowners who would rather have that check done on a schedule than remember it themselves.
Booking a fall tune-up with Tru Comfort Advantage
The Tru Comfort Advantage plan is designed so you don’t have to remember every seasonal task yourself. Technicians document each fall visit, including combustion and CO safety checks, providing a clear record of the work performed.

| What you get | Detail |
|---|---|
| Who performs the visit | NATE-certified, non-commissioned technicians |
| What’s documented | Combustion and CO safety checks, completed inspection record |
| How to book | Request a visit through our maintenance plan page |
| What to have ready | Furnace model, serial number, and filter size |
Before you book, jot down your furnace’s age and any odd noises or smells you’ve noticed. Ask us to walk you through the combustion and CO checks during the visit, and ask about scheduling your next furnace maintenance service before the coldest weeks hit.
FAQ
What are the fall protection requirements for HVAC maintenance?
“Fall protection” in HVAC maintenance typically refers to workplace safety rules for technicians working on rooftop units, not a homeowner task. For your own fall season checklist, the real requirements are safety-focused: working CO alarms, clear outdoor vents, and a professional combustion check rather than fall-protection equipment.
What is the $5,000 rule for HVAC?
There’s no universal, officially defined rule for HVAC repair versus replacement. Some contractors use informal guidelines comparing repair cost to the system’s age and remaining value, but this varies by provider, so ask your technician to walk through the specific numbers for your system rather than relying on a rule of thumb.
How do I prepare your HVAC system for fall?
Start with the basics: replace the filter, clear debris from the outdoor unit, clean vents and registers, and use the best home viewing checklist for serious buyers to help you stay organized and prepared. Then schedule a professional furnace inspection that covers combustion safety and the heat exchanger, items outlined in the ENERGY STAR maintenance checklist, before the coldest weeks arrive.
How often should I change my furnace filter in fall?
Check your filter monthly and plan to replace it every 1 to 3 months, depending on the filter type and whether you have pets or allergies in the household. A clogged filter restricts airflow and makes your furnace work harder than it needs to.
Can I clean my own air ducts instead of hiring someone?
The EPA does not recommend routine duct cleaning for most homes, so it’s usually unnecessary unless ducts show visible mold, pests, or heavy dust buildup. Focus your own effort on filter changes and visible vent cleaning, and call a technician only if you spot actual contamination.
Sources
Even a freshly serviced furnace can fail at an inconvenient time, so it’s worth having a plan before you need one. Identify which rooms matter most if the heat goes out, typically bedrooms and any space with young children, older adults, or pets, and know where portable heating options are stored.
Keep a list of emergency HVAC contacts, including a technician who offers after-hours service, somewhere easy to find rather than buried in a phone contacts list you can’t access if your phone dies. If you use a space heater as backup, keep it on a hard, level surface, at least 3 feet from anything flammable, and never run one unattended overnight.
Know your home’s water shutoff in case pipes are at risk of freezing during an extended outage, and keep extra blankets accessible. A documented emergency plan, even a simple one taped inside a utility closet, saves confusion when the temperature is dropping and the furnace won’t start.
- Maintenance Checklist – ENERGY STAR
- Stay Safe While Staying Warm This Winter — CPSC
- Should you have the air ducts in your home cleaned? — EPA
- HVAC preventative maintenance — Building Science Education