

AC Condenser Clearance: How Much Space to Leave Around Your Unit
Give your AC condenser at least 12 inches of clearance on the sides, 24 to 36 inches on the service side, and keep the space above it unobstructed unless your manufacturer says otherwise. Most installation manuals actually recommend 18 to 24 inches on the sides rather than the bare 12-inch minimum, since more room helps the unit breathe. If you’re placing two condensers near each other, leave 24 to 48 inches between them so one unit’s exhaust doesn’t feed into the other’s intake.
- Side clearance: 12″ minimum, 18″–24″ recommended
- Service-side clearance: 24″–36″ for panel and coil access
- Vertical clearance: unobstructed, or per manufacturer spec (often 24″–60″)
- Between two units: 24″–48″ typical
None of these numbers override your specific model’s manual. Find the nameplate on the side of the unit, look up the model number, and pull the installation manual before you plant a shrub or build a fence. Units tucked under a deck or in a recessed well often need extra vertical clearance to avoid recirculating hot exhaust air back through the coil.
TL;DR:
- Maintaining 18 to 24 inches of side clearance and 24 to 36 inches on the service side is essential for proper airflow and technician access.
- Vertical clearance should be fully unobstructed or follow manufacturer instructions, often requiring 24 to 60 inches above the unit.
- Installing units under decks or in recessed wells traps hot exhaust, accelerates coil corrosion, and reduces efficiency, risking warranty issues.
- Elevating the pad at least 3 inches above grade and ensuring it stays level prolongs compressor life and prevents lubrication problems.
- Always verify clearance requirements with the specific manufacturer manual, as generic numbers are only rough guidelines and may not meet warranty standards.
Table of Contents
- AC Condenser Clearance Requirements: Why Every Dimension Matters
- What About Under-Deck or Recessed Condenser Placement?
- Pad, Elevation, and Code Requirements for AC Condensers
- Obstructions and Screening: Hiding Your Condenser Without Hurting Airflow
- When to Call a Pro, and What to Check First
- Why Manufacturer Manuals Beat Generic Clearance Numbers
- Key Takeaways
- Sources
AC Condenser Clearance Requirements: Why Every Dimension Matters
The clearance numbers aren’t arbitrary. Every inch of space around a condenser exists to let it pull in cool air and push out hot air without choking on its own exhaust. Crowd it, and the unit starts recirculating warm air, which raises head pressure and forces the compressor to work harder than it was built for.
Horizontal clearance protects the coil’s ability to draw air in from the sides. Most manufacturer manuals list 18 to 24 inches as the standard for walls, fences, and landscaping on non-service sides. Service-side clearance is different. Technicians need 24 to 36 inches of working room to pull the access panel, service the electrical disconnect, and get a gauge set on the lines without contorting around a wall. Vertical clearance above the discharge fan matters just as much. Many manufacturers specify the area directly above the unit stay fully unobstructed, since a soffit or low deck ceiling too close overhead traps discharge air and sends it right back into the intake.
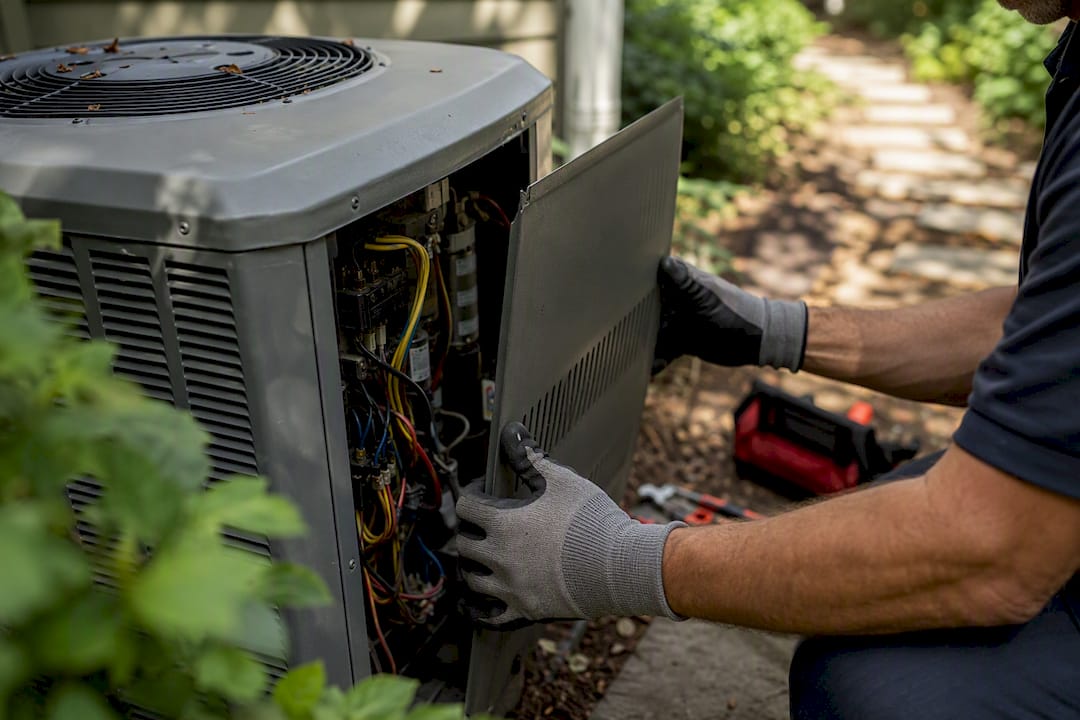
Reading a manual’s clearance table is simpler than it sounds: look for a diagram showing the unit from above, with measurements labeled at each side. Measure from the outer edge of the condenser cabinet, not the pad, to the nearest obstruction, and measure vertical clearance from the top of the fan grille straight up.
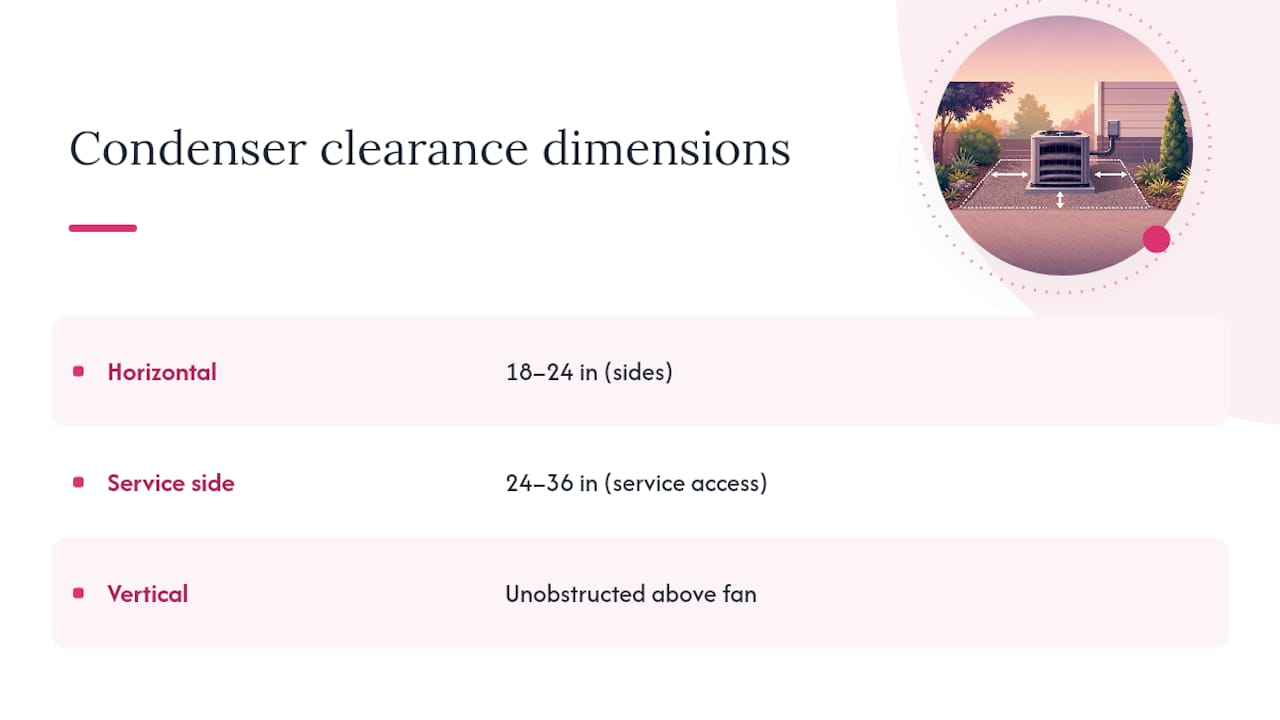
Skimping on any of these numbers has a real cost. Dense screening or tight obstructions can cut efficiency by roughly 10 to 20 percent by forcing the coil to recirculate its own hot exhaust instead of pulling fresh air.
What About Under-Deck or Recessed Condenser Placement?
Under-deck installations are one of the most common clearance mistakes homeowners make. It looks tidy, but a low deck or a recessed well traps hot exhaust air right where the unit needs to pull in cool air, and manufacturers frequently call for the space above a condenser to stay fully open for exactly this reason. Some installation guidance recommends several feet of vertical clearance in tighter enclosed spots, though the exact number varies by brand and capacity.
The risks go beyond lost efficiency. Trapped moisture accelerates coil corrosion, recirculated heat shortens compressor life, and some manufacturers will flag an obstructed installation as a warranty issue if a failure gets traced back to airflow restriction.
- Raise the unit on a taller pad or stand if grade allows
- Add open-lattice screening instead of solid deck skirting
- Install louvered vents in deck skirting to let hot air escape upward
- Relocate the unit entirely if the deck footprint leaves no real airflow path
Pro Tip: If you’re already dealing with a deck-enclosed condenser, hold your hand above the discharge fan on a hot day. If it feels noticeably hotter than the surrounding outdoor air, that’s recirculation, and it’s worth a technician visit before the compressor takes the hit.
Pad, Elevation, and Code Requirements for AC Condensers
Placement isn’t just about horizontal and vertical space. The pad underneath the unit and how level it sits both affect how long the compressor lasts.
- Elevation above grade. IRC 2024 Section M1411 requires the condenser sit on a stable, level pad elevated at least 3 inches above grade, which keeps runoff and irrigation water from pooling around the cabinet base.
- Levelness. Most manufacturers recommend the unit be level within a small tolerance to prevent refrigerant oil migration away from the compressor, which can cause lubrication issues over time.
- Pad material. Poured concrete and manufacturer-listed composite pads both work, as long as the surface stays stable and doesn’t settle or heave with the seasons.
- Electrical disconnect. NEC 440.14 requires a disconnect switch installed within sight of the condenser, which inspectors check along with clearance and elevation at final walkthrough.
A condenser pad that’s out of level by even a few degrees might run fine for a year or two before oil migration catches up with the compressor. By the time you hear the knock, the damage is already done.
Inspectors typically check three things at final inspection: pad elevation and stability, sightline to the electrical disconnect, and whether the manufacturer’s minimum clearances were followed. Manufacturer instructions always take precedence over generic figures when the two conflict, since the manual reflects testing done for that specific compressor and coil combination.
Obstructions and Screening: Hiding Your Condenser Without Hurting Airflow
Fences, overgrown shrubs, and dryer vents placed too close are the most common airflow killers homeowners create without realizing it. A solid privacy fence built tight against the discharge side traps hot air in a pocket, and a dryer vent aimed at the intake side adds lint and heat exactly where the coil needs cool air.
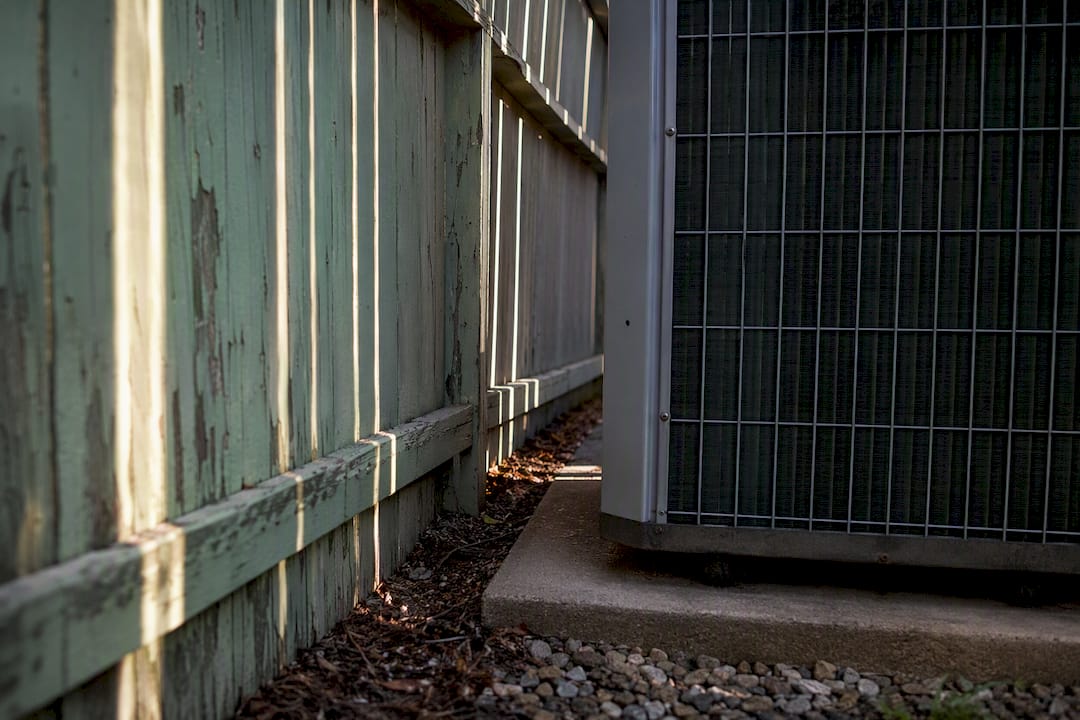
Energy, generally at least 18 inches, with room to trim as they mature. Shrubs planted right against the cabinet look fine in spring and cause airflow problems by midsummer.
If you want to screen the unit for looks, open-lattice fencing or a ventilated enclosure with gaps between slats lets air pass through while still blocking sightlines. Solid fencing directly in the discharge path is the one setup to avoid entirely, no matter how good it looks from the patio.
- Keep plantings at least 18″ from the cabinet on all sides
- Trim growth regularly so it never touches the coil fins
- Use louvered or open-lattice screening, never solid panels, near the discharge
Pro Tip: A quick recirculation test costs nothing: run the AC for 15 minutes, then check whether the system is short cycling or the discharge air feels warmer than it should for the outdoor temperature. Both point to trapped exhaust. Debris buildup around the coil compounds the problem, and dense debris or landscaping close to the unit measurably drags down both efficiency and air quality.
When to Call a Pro, and What to Check First
Some clearance problems are DIY fixes. Others need a technician’s eyes before you touch anything.
Call a licensed HVAC tech if you notice a visibly tilted unit, repeated high-pressure fault codes, physical damage to the coil fins, or cooling performance that’s dropped even though the thermostat settings haven’t changed. Any of these can point to a placement issue that’s been quietly stressing the system for months. If you suspect your setup might violate a manufacturer clearance or local code, a technician can confirm whether the system needs maintenance before small issues turn into a compressor replacement.
Before that visit, a few minutes of prep saves real diagnostic time:
- Photograph the nameplate with the model and serial number visible
- Measure and note side, service-side, and vertical clearances
- Check pad level with a small torpedo level
- Photograph the service side and the area directly overhead
- Write down any recent symptoms: noise, short cycling, weak airflow
Handing a technician this information on the first call, rather than during the visit, means less time diagnosing and more time actually fixing the problem.
Field Experience Behind This Guidance
Tru Comfort Heating & Cooling is a family-owned HVAC service provider with a unique focus on customer service and NATE-certified technicians, serving New River, Anthem, and the surrounding Arizona communities. Technicians work on a non-commissioned basis, so recommendations on relocating or re-pading a condenser reflect what actually extends equipment life, not what pads a service ticket.
- Non-commissioned, NATE-certified technicians
- Emergency service availability for urgent clearance-related failures
- Maintenance plans that catch pad settling and airflow issues before they cause damage
Author credentials and bio to be added.
Why Manufacturer Manuals Beat Generic Clearance Numbers
Every number in this guide is a starting point, not a substitute for the paper that came with your unit. That’s the piece most homeowner guides gloss over: generic clearance figures are useful for a quick gut check, but the manufacturer manual is the actual controlling document for warranty purposes. If an insurance adjuster or warranty rep ever questions a failure, they’re going to ask what the manual required, not what a blog post said.
The conventional advice on this topic treats 12 inches as some kind of safe universal minimum. In practice, that number is closer to a bare-legal floor than a target. Compressors run hotter and shorter lives on tight clearances even when nothing looks obviously wrong. If I had to pick one priority for readers to act on first, it’s this: find your nameplate, look up your model’s manual, and compare its numbers against what’s actually installed, before you ever call about coil damage or a failed compressor.
The code side matters too, but mostly as a backstop. IRC 2024’s pad and elevation rules exist to catch installations, not to define good practice. A pad that barely clears the 3-inch elevation and sits at the edge of level tolerance will pass inspection and still shorten the compressor’s life.
Key Takeaways
Correct AC condenser clearance protects airflow, prevents compressor strain, and keeps warranty coverage intact, but the manufacturer’s manual always overrides generic clearance figures.
| Point | Details |
|---|---|
| Side clearance | Leave 18″–24″ from walls, fences, or plants on non-service sides. |
| Service-side clearance | Keep 24″–36″ open for panel access and technician work. |
| Vertical clearance | Keep the area above the unit unobstructed unless the manual specifies otherwise. |
| Pad and level | Elevate the pad at least 3 inches above grade and keep it level within about 5 degrees. |
| Check the manual first | Manufacturer clearance specs override generic numbers whenever they differ. |
Where to Verify These Numbers Yourself
- IRC 2024 Section M1411 pad and clearance rules
- Energy.gov landscaping and airflow guidance
- Your unit’s nameplate model number, cross-referenced with the manufacturer’s manual
Sources
- IRC 2024 AC Condenser Installation: Pad, Clearances, and Refrigerant Rules | Jaspector
- Condensing Unit Installation: Placement and Requirements | HVAC Installation Authority