10 Minute Fix for Homeowners: Thermostat Not Reaching Setpoint
A thermostat that won’t reach its set temperature usually points to one of four things: a settings or mode error, blocked airflow (almost always a dirty filter), bad thermostat placement or calibration drift, or an equipment problem the thermostat can’t fix on its own. Start by checking the mode, batteries, and filter, since those solve most cases in minutes. If the system still won’t catch up after that, work through the diagnostic steps below before calling a technician.
TL;DR:
- Most temperature issues stem from simple causes like incorrect mode settings, dead batteries, dirty filters, or blocked vents, not equipment failure.
- Poor thermostat placement, calibration drift, or airflow restrictions are common reasons for inaccurate temperature readings or system inefficiency.
- Mechanical or equipment faults are usually only the cause after airflow and settings are verified, with signs including continuous running or refrigerant leaks.
- Extreme weather can cause undersized systems to struggle during heat waves or cold snaps, making capacity limitations a frequent non-technical cause.
- Professional diagnosis is necessary if the system still can’t reach the set temperature after DIY checks, especially when refrigerant, electrical, or combustion problems are suspected.
Table of Contents
- Thermostat Not Reaching Set Temperature? Start With This 10-Minute Checklist
- What’s Actually Causing Your Thermostat Temperature Problems?
- How to Fix a Thermostat That Won’t Reach Set Temperature
- When Should You Call a Licensed HVAC Technician?
- Preventive Maintenance That Keeps Your System on Target
- Why Local, Certified Expertise Matters for Comfort Problems
- The Troubleshooting Order Most Guides Get Backwards
- Get a Professional Diagnosis From Tru Comfort
- Sources
Thermostat Not Reaching Set Temperature? Start With This 10-Minute Checklist
Before assuming your furnace or AC is broken, rule out the cheap, fast stuff. Most homeowner service calls trace back to something you can fix without a wrench.
Run through this in order:
- Confirm the mode and setpoint. Make sure it’s set to Heat (not Cool or Off) and that the target temperature is set sufficiently below or above the current room temperature. Systems won’t run at all if the gap is too small.
- Check the batteries. A dim or flickering display often means the batteries are dying, even if the screen still shows numbers.
- Look at the fan setting. “On” runs the blower constantly, which can make a room feel like it’s never warming up because cool air keeps circulating. Switch it to “Auto.”
- Disable Eco or Away modes. Smart thermostats will quietly override your manual setpoint if a schedule or energy-saving mode is active. This is one of the most common causes homeowners never think to check.
- Pull the air filter and look at it. If you can’t see light through it, replace it. A dirty air filter is the single most common cause of poor airflow and weak heating or cooling performance.
- Open every supply vent and clear the returns. Furniture, rugs, and curtains blocking a return air grille can choke the whole system.
- Check the breaker panel and, for AC, the outdoor disconnect switch. A tripped breaker or a disconnect that got bumped will stop the system cold with no warning on the thermostat.
If you’ve done all seven and the house still isn’t catching up after 20 to 30 minutes, the problem is likely mechanical rather than a setting. Move on to the diagnostic breakdown below.
What’s Actually Causing Your Thermostat Temperature Problems?
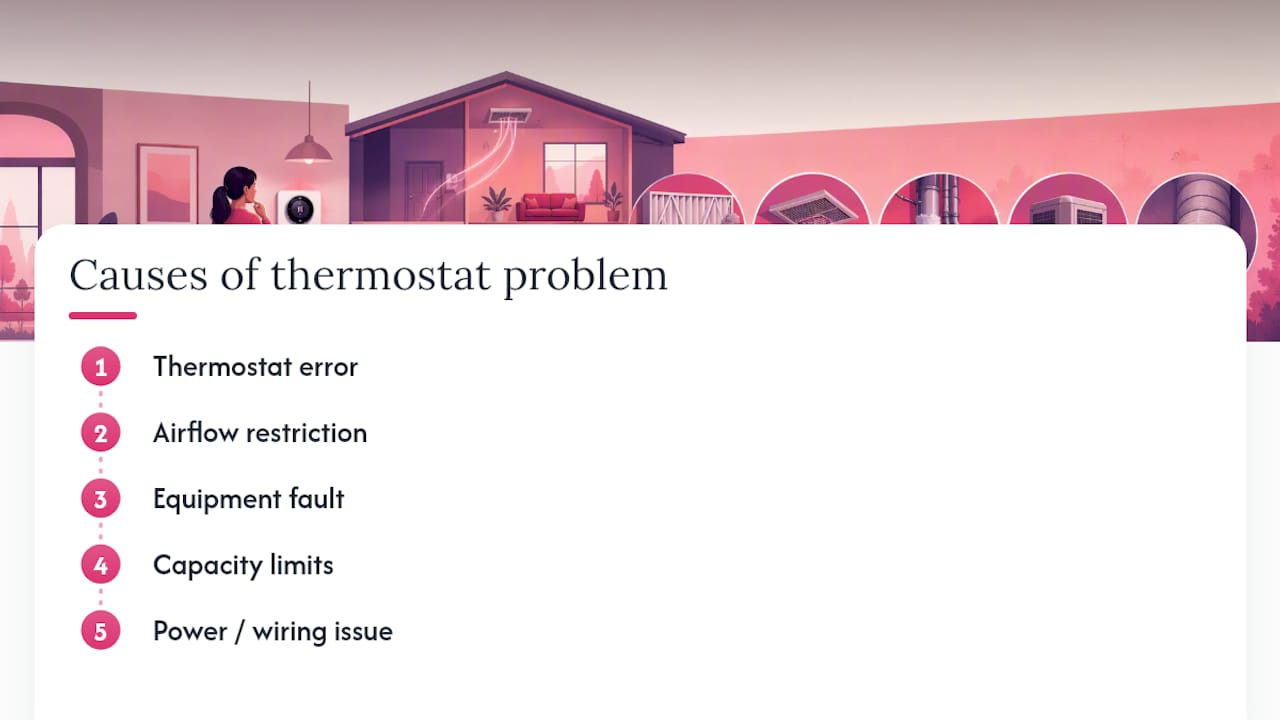
Once the quick checks are done, the cause usually falls into one of five categories: thermostat error, airflow restriction, equipment fault, capacity limits, or a power/wiring issue. Each one leaves different clues.
Thermostat placement, calibration, and control errors
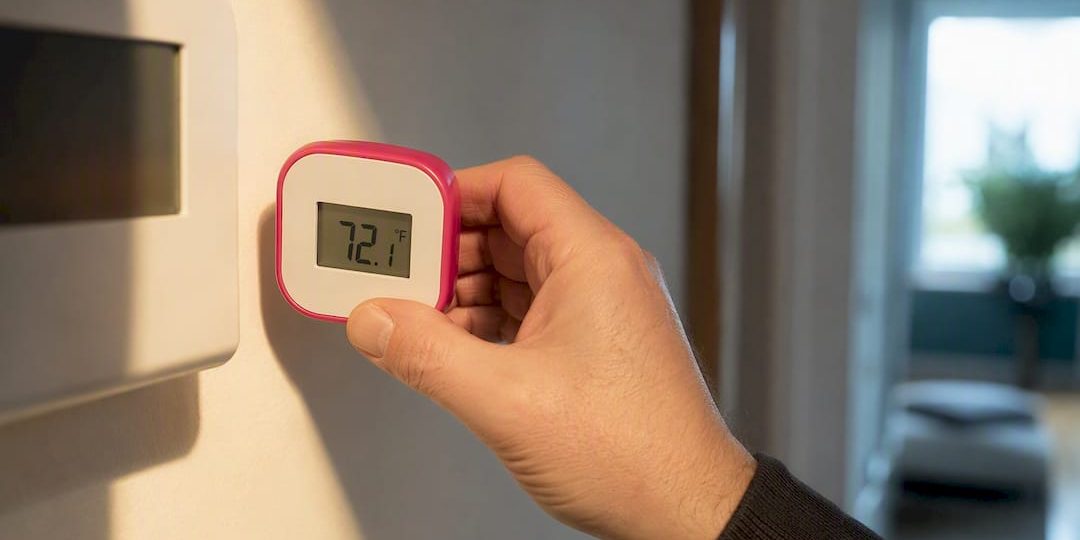
A thermostat only measures the air immediately around it. Mount it near a window, a lamp, a supply vent, or an exterior wall with a draft, and it reads the temperature of that spot, not your living room. Placement guidance from building science researchers consistently recommends an interior wall, away from direct sun and airflow, for a reason: bad placement is one of the most overlooked causes of a thermostat that seems to lie to you.
Older mechanical thermostats add another wrinkle. Many use a component called a heat anticipator that shortens or lengthens the heating cycle. If it’s set wrong, the thermostat will shut the system off before the room actually reaches temperature, even though the dial says it should still be running.
Quick diagnostic: put a separate digital thermometer next to the thermostat for an hour. If it consistently reads 2 or more degrees different from the thermostat display, you’ve got calibration drift or a placement problem, not an equipment issue.
Airflow restrictions
This is the airflow category and it accounts for a huge share of “not reaching temperature” complaints. A clogged filter, closed vents, a blocked return, or a disconnected duct section all starve the system of the air it needs to move heat or cool air where it belongs.
- Reduced or weak airflow at multiple registers, even with the fan running, signals a filter or blower problem.
- Strong airflow at some vents and none at others points to a duct leak, a disconnected run, or a closed damper somewhere in the line.
- One room consistently colder or hotter than the rest of the house, despite the thermostat reading correctly, often means poor duct balance rather than a broken unit.
Duct sizing and distribution materially affect whether a system can maintain even temperatures across a whole house, which is why two rooms on the same system can behave completely differently.
Equipment faults or performance limits
Statistic to know: a dirty filter and blocked vents solve the majority of simple “not cooling” or “not heating” calls on their own, no parts required. But if you’ve cleared airflow and the thermostat still won’t catch up, something inside the equipment is likely failing.
Signs of an equipment fault rather than an airflow or thermostat issue:
- The system runs continuously but indoor temperature barely moves.
- Visible ice on the outdoor unit or indoor coil (refrigerant or airflow problem).
- Loud grinding, humming, or a burning smell from the furnace or condenser.
- Weak or yellow burner flame instead of a steady blue one.
These point to a worn compressor, a weak blower motor, low refrigerant, or a combustion problem, all of which fall outside DIY territory.
Undersized systems and extreme weather
Sometimes nothing is broken. The system is just too small for the job, or the outside temperature is pushing it past its rated capacity. Research on HVAC performance under extreme conditions shows that systems lose capacity and run longer during heat waves and deep cold snaps, sometimes never fully catching up until conditions ease. If your system reaches temperature fine on mild days but falls behind during a heat wave or a hard freeze, that’s a capacity limit, not a defect. Heat pumps in particular struggle to maintain output in very cold weather and may need supplemental heat.
Power and control problems
A tripped breaker, an outdoor unit that never kicks on, or a thermostat that clicks repeatedly without the system responding all point toward electrical or control-board trouble. Intermittent clicking with no equipment response is a classic sign of a failing relay or a loose connection, not a thermostat that’s simply “confused.”
How to Fix a Thermostat That Won’t Reach Set Temperature
Work through these steps in order. Stop as soon as you find the problem, and don’t move past a step that requires tools or skills you don’t have.
- Confirm settings and force a click test. Turn off any schedule or Eco mode, then move the setpoint 5 degrees past the current room temperature. Listen for a click within a minute or two. That click means the thermostat is sending a signal; no click means the fault is likely in the thermostat itself or its power supply.
- Replace the filter and open every vent. Check supply and return grilles for furniture or rugs blocking them, and look along visible ductwork in the attic or basement for a disconnected joint or a section crushed by stored items.
- Test accuracy with a separate thermometer. Set it next to the thermostat for 30 to 60 minutes. If the readings don’t match, recalibrate the thermostat per its manual, or reset it. If the thermostat feels loose on its wall plate, remove the faceplate and reseat it. A loose connection to the backplate can cause erratic readings.
- Inspect the outdoor unit for cooling problems, or the burner for heating problems. Clear leaves, grass clippings, or debris from around the condenser, and check for ice on the coil. Listen for the compressor and fan actually running. For furnaces, look for a steady blue flame at the burner; a weak, flickering, or yellow flame is a combustion problem, not something to troubleshoot yourself.
- Check for loose wiring terminals at the thermostat, but stop there. With power off, you can visually check that wires are seated in their terminals. Do not touch anything at the furnace board, the outdoor disconnect, or any live electrical component. If you smell gas at any point, leave the house immediately, call your gas utility or 911 from outside, and do not touch switches or thermostats.
Pro Tip: If the thermostat clicks but the equipment never starts, don’t keep flipping the setpoint up and down. Repeated cycling can trip a safety lockout on some furnaces, and you’ll want the technician to see the original fault code, not a reset one.
Use these signs to decide what you’re dealing with: a click with no equipment response means an equipment fault; no click at all means a thermostat or power problem, worth checking against signs your thermostat itself has failed; ice on the coil means a refrigerant or airflow issue; any gas odor means stop immediately and call for professional help.
When Should You Call a Licensed HVAC Technician?
Some signs mean stop troubleshooting and pick up the phone. Any smell of gas, a burning electrical smell, ice buildup on the indoor coil, or a system that still won’t reach temperature after you’ve worked through every DIY step above all warrant a professional visit rather than another round of guesswork.
Here’s what a qualified technician actually does that you can’t:
- Measures the temperature rise or drop across the system (called Delta T) to confirm the equipment is performing to spec.
- Checks refrigerant pressures with gauges, something federal law restricts to technicians holding EPA Section 608 certification. Homeowners should never attempt to handle or top off refrigerant themselves.
- Tests combustion and venting on gas furnaces to rule out carbon monoxide risks.
- Runs electrical diagnostics on the control board, relays, and capacitors.
- For persistent comfort complaints that don’t have an obvious cause, places data loggers next to the thermostat, at a supply register, and in the problem room to compare readings over several hours or days rather than guessing from one visit.
A standard diagnostic appointment runs 60 to 90 minutes. Costs range widely depending on whether the fix is a simple part replacement, a bigger furnace repair, or, in older systems, a signal that replacement makes more financial sense than another repair.
Preventive Maintenance That Keeps Your System on Target
Most of the causes above are preventable with a handful of routine habits, and they cost far less than a service call.
- Replace filters regularly, more often with pets or during construction nearby. Match the MERV rating to what your system is designed to handle. A rating too high for your equipment restricts airflow just as much as a dirty filter does.
- Schedule an annual tune-up with a NATE-certified technician. A proper tune-up includes cleaning coils, testing capacitors, checking refrigerant charge, and servicing burners, catching small problems before they become no-heat or no-cool emergencies.
- Mount thermostats on an interior wall, away from direct sun, drafts, and supply vents. Homes with uneven temperatures between rooms benefit from remote sensors or a multi-zone setup rather than relying on one thermostat to represent the whole house.
- Seal obvious duct leaks and check insulation around ductwork in attics and crawl spaces. Simple weatherstripping around windows and doors also reduces the heat loss that makes a perfectly good system look underpowered.
Pro Tip: If one room never seems to hit temperature no matter what you do, don’t crank the thermostat further. Check for uneven duct balance between rooms first. Overcompensating on the thermostat just overheats or overcools every other room trying to fix one.
Why Local, Certified Expertise Matters for Comfort Problems
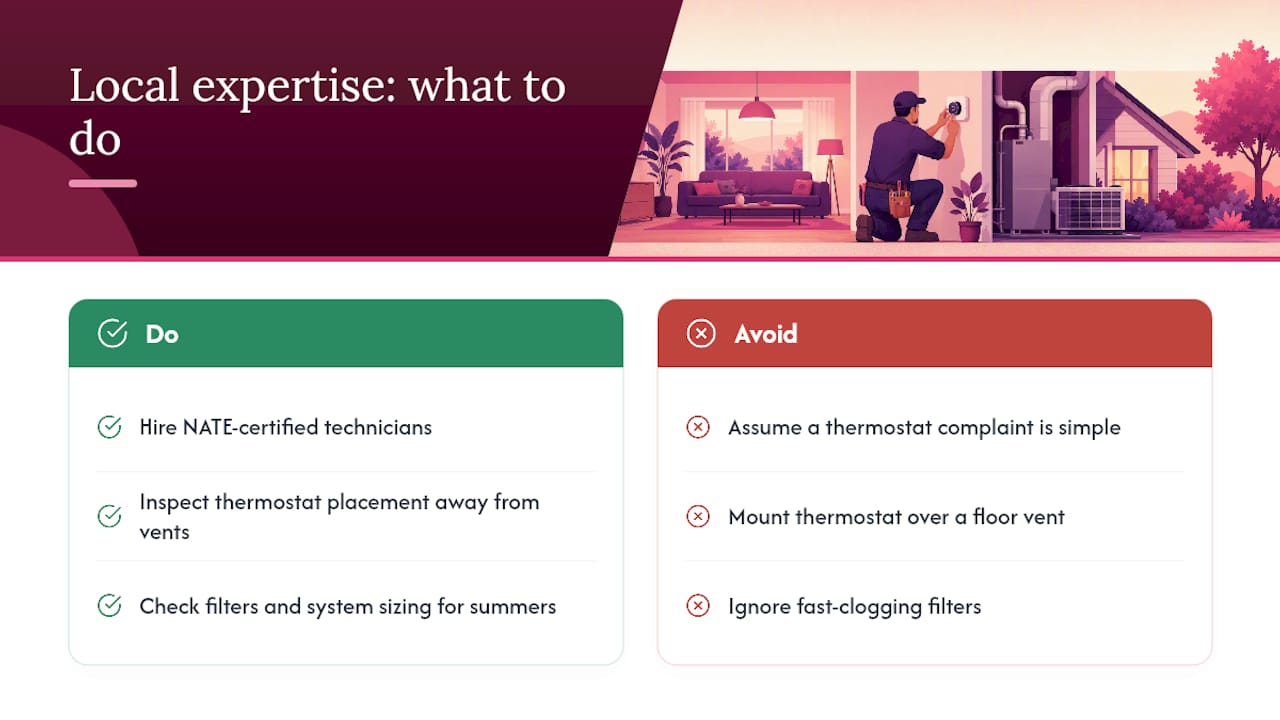
Tru Comfort Heating & Cooling has serviced homes in New River and the surrounding area long enough to know the local patterns: thermostats mounted on sun-facing walls, undersized systems pushed past their limit during Arizona summers, and filters that clog faster than manufacturers assume. Every technician on the team holds NATE certification, meaning they’ve passed standardized testing on diagnostics, airflow, and electrical systems rather than learning purely on the job. That matters when a “simple” thermostat complaint turns out to be a refrigerant or combustion issue underneath.
One recurring fix worth mentioning: a homeowner with a thermostat mounted directly above a floor vent kept fighting a system that seemed to short-cycle. Relocating the thermostat to an interior wall away from the vent solved it without touching the equipment at all. It’s a fix that costs almost nothing and gets missed constantly.
The Troubleshooting Order Most Guides Get Backwards
Most advice online jumps straight to refrigerant levels or compressor failure, because that sounds more technical and more urgent. In practice, that’s the least likely cause and the most expensive to chase first. The evidence points the other way: settings errors, dirty filters, and bad thermostat placement resolve the overwhelming majority of “won’t reach set temperature” complaints, and none of them cost more than a new filter or twenty minutes with a screwdriver.
Where conventional advice really falls short is treating every comfort complaint as an equipment problem. A thermostat mounted in the wrong spot, or an Eco mode quietly overriding your setpoint, will make a perfectly healthy furnace or AC look broken. Rule out the cheap stuff first, always. If you’ve genuinely cleared settings, filters, and placement and the house still won’t catch up, that’s the point where DIY confidence should end. Refrigerant work, gas combustion issues, and electrical faults inside the unit aren’t places to improvise, and they’re exactly where EPA-certified, NATE-trained technicians earn their fee.
Get a Professional Diagnosis From Tru Comfort
If you’ve run through the checks above and your home still won’t hold its set temperature, it’s time for a second opinion from someone who can measure the system instead of guessing. Tru Comfort Heating & Cooling sends NATE-certified technicians who diagnose the actual cause, whether that’s a duct problem, a refrigerant issue, or a furnace component nearing the end of its life, instead of replacing parts at random.

The team handles everything from thermostat relocation to full common furnace repairs for homes throughout New River and the surrounding Arizona area, plus annual maintenance plans that catch small issues before they turn into a no-heat call in January. If your system has been struggling for more than a season, get a straight answer instead of another guess. Request a diagnostic visit or repair estimate and find out exactly what’s keeping your home from reaching temperature.
Sources
- Complete Guide to HVAC Troubleshooting (Every Common Problem), HomeFixer101
- Diagnosing Heating and Cooling Comfort Problems in Homes, 3C-REN
- Energy